I had a system crash which caused Tabletop Simulator to write an incomplete/corrupted autosave file,
and lost about an hour of progress in a board game.
Here’s a powershell script to rotate multiple copies of TTS’s TS_AutoSave.json. I now just run this via scheduled tasks every few minutes (TTS autosaves every 5 minutes if autosave is enabled).
# Keep a series of backups of Tabletop Simulator's# autosave files in a subdirectory# The most recent five will keep the .json file extenion,# older ones will use .bak, so that Tabletop Simulator # will not try to process them.# Update with the path to your save directory$sourceDir="C:\Path\To\Documents\My Games\Tabletop Simulator\Saves"$destinationDir=$sourceDir+"\Autosave"# The total number of rotated backups to keep.# Tabletop simulator saves every 5 minutes, # so 15 files allows you to roll back to a save 75 minutes old$maxFiles=15$source=$sourceDir+"\TS_AutoSave.json"$destination=$destinationDir+"\00.json"if(!(Test-Path$destination)-or((Get-Item$source).LastWriteTime-gt(Get-Item$destination).LastWriteTime)){$files=Get-ChildItem-Path$destinationDir\*-include*.json,*.bakfor($counter=$files.count-1;$counter-ge0;$counter--){$filepath=$files[$counter].FullNameif($maxFiles-gt0-and$counter-gt($maxFiles-2)){Remove-Item-Path$filepath}else{$newName="$destinationDir\$(($counter+1).ToString('00')).json"if($counter-gt3){$newName+=".bak"}Rename-Item-Path$filepath-NewName$newName}}Copy-Item$source$destination}
If you’re running linux or linux-like, logrotate will do a better job, but the Windows implementations are incomplete.
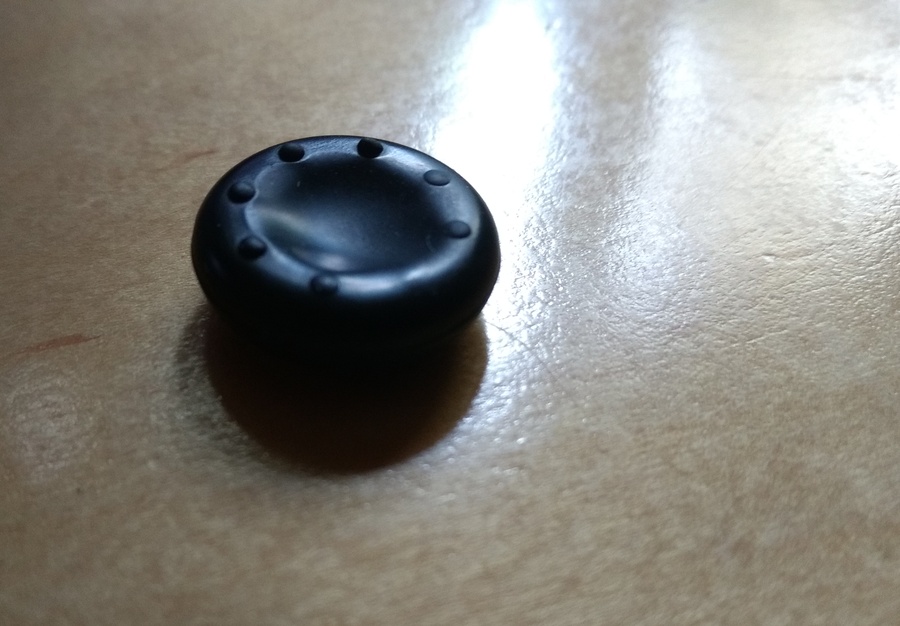
There are a lot of ways to fix this (like replacing the thumbstick with one from a more comfortable gamepad), but here’s what I settled on.
Originally, I didn’t want to make any permanent modifications, so I packed a joystick cover full of sugru, and smooshed it on top of the existing joystick, and let it cure for a day.
Because of the shape of the joystick cone, it couldn’t fit completely inside the cover, and rather than having sugru completely wrapping around the joystick top, it was only adhered to the top.
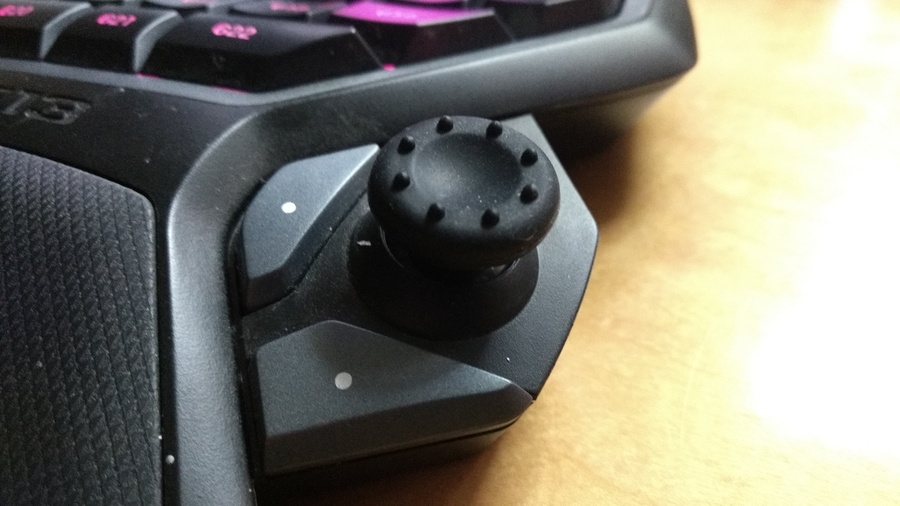
Despite that, it lasted about 7 months under heavy use (enough to wear down the
nubs on the cover) before falling off yesterday.
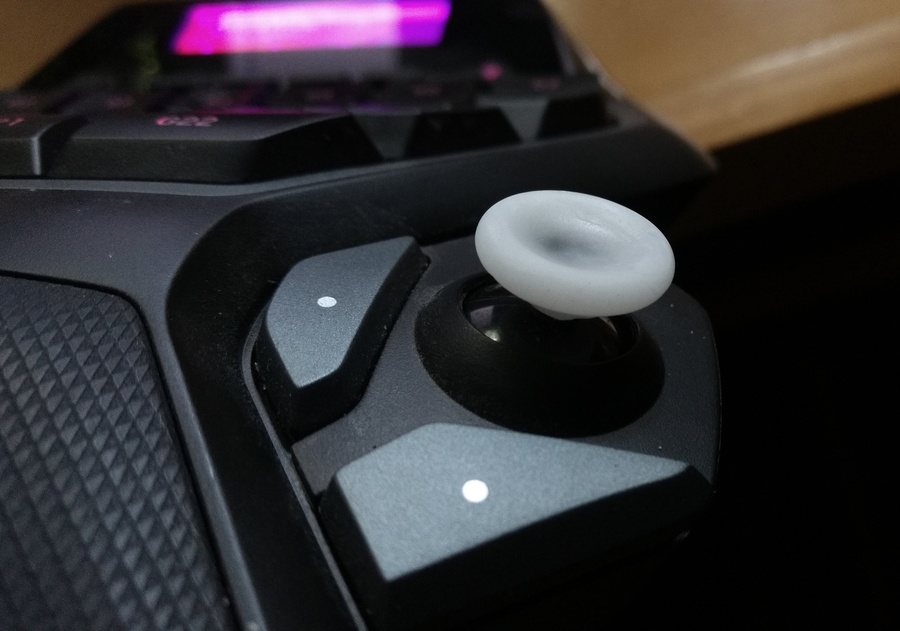
Since I was out of sugru (and didn’t want to wait another 24 hours for it to cure anyway), I decided to use thermoplastic (instamorph, polymorph, etc.) instead.
To allow it to fit in the cover and to adhere better, I removed the rubber tip from the G13. There doesn’t appear to be a good (read: reversible) way to do this,
as mine was both glued, and too inflexible to pull off of plastic shaft without damage, so I just removed it with a craft knife.
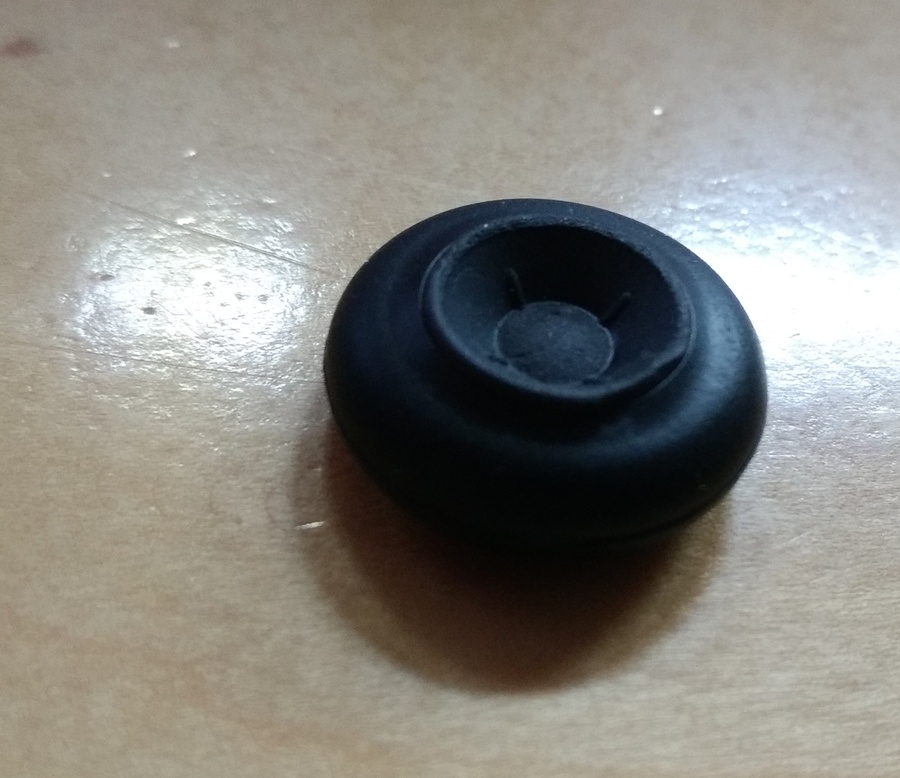
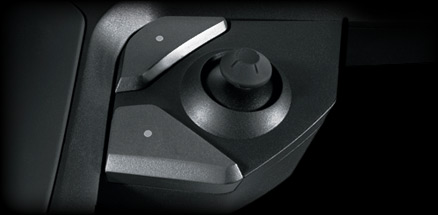
Like the sugru, I filled a new cover with thermoplastic, pushed it onto the joystick, and used a small pokey tool ensure that the thermoplastic wrapped around the top of the joystick (now flat), and let it cool.
Here’s the thermoplastic, having been molded to the inside of the cover.
I have sometimes wanted to run git bisect on all of the files in a single commit to determine which file caused a given issue.
While this isn’t supported by git (for good reason), it’s easy enough to fake.
This happened recently when I made a global typography change in a rails project, causing a feature spec (which depended on a specific
string format) to fail.
# Create a new branch, based on a working commit
git checkout -b bisect-debugging <working-commit>
# Apply the changes from the broken commit
git cherry-pick <broken-commit> --no-commit# Unstage the changes from the commit
git reset
# Loop through modified files, adding and committing each# To include new files, you could also use `git ls-files -om --exclude-standard` for file in$(git ls-files -m);do
git add $file
git commit -m$filedone# Begin bisecting for your new commits
git bisect start <working-commit> HEAD
# Use the failing spec to determine whether this commit is good or bad
git bisect run bundle exec rspec spec/failing_test.rb:123
I’ve released Wheeler, an Open Broadcaster overlay.
Wheeler is designed to replace pedal cams (sock cams) in racing games for streamers. It displays configurable racing wheel, pedal, shift and handbrake input and plays nicely with multiple input devices.
Wheeler is priced at pay-what-you-want, but all support is appreciated.
After some trial and error (and error, and error, and error), I’ve managed to get DiRT Rally telemetry data to
display on a TM1638 display module, and have released both the arduino sketch I’m using and the python script used for communication here: https://github.com/Billiam/pygauge
The python script is also available as an all-in-one exe. You can download gauge.ziphere.
Here it is in use:
I started with X-Sim and this guide, but ran into a few problems. X-sim required Dirt’s extradata option to be set to 1, and didn’t seem to be aware of each cars rev limit. In the linked guide, the rev limit has been hardcoded to 9,500, which is pretty far off of some of DiRT Rally’s cars. The Use automatic maximum adjustment setting partially resolves this, but it won’t know what the maximum rpm until you reach it at least once.
X-Sim is extremely flexible and powerful, but is very configuration-heavy and felt like overkill for this project. If you’re already using X-Sim to drive your sim rig/gauges, I’d recommend sticking with it.
Additionally, if you’re interested in using this LED module for other games, including Assetto Corsa, iRacing, Project Cars and rFactor, check out http://batrako.blogspot.com/ instead.
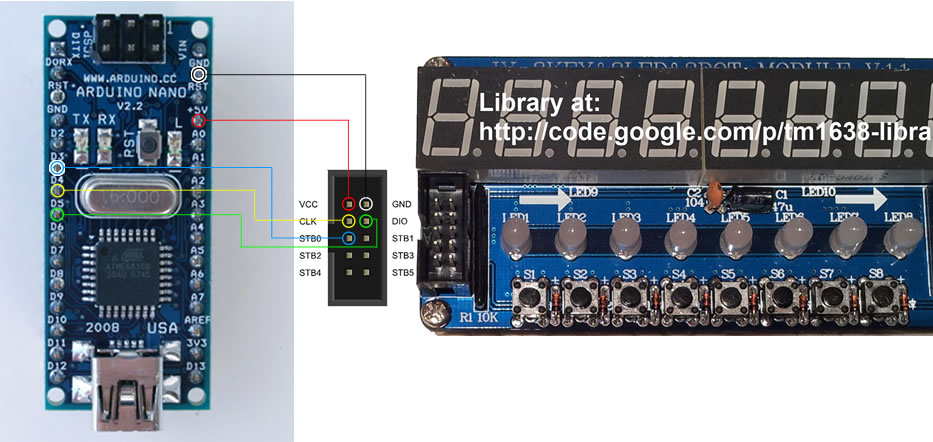
An arduino. I’m using this one: dx.com $7.84 but I believe this one will work and is a bit cheaper as well: dx.com $4.99
(optionally) Some jumper wires: dx.com $2.96.
I just soldered wires directly to the arduino pins, but if you plan to reuse your nano for something else in the future, this may be a better solution.
Install the Arduino software. Here is a helpful getting started guide: https://www.arduino.cc/en/Guide/Windows. Download the TM1638 library and extract the TM1638 directory to your Arduino library folder (ex: C:\Program Files\Arduino\libraries).
Verify that you can upload sketches by uploading the blinky light Arduino example (see guide link).
You will need to connect arduino pins to the LED module. One for ground, one for power, and 3 to control it. If you plan to daisy chain multiple modules, you’ll be using additional pins.
Both the Arduino and the LED module pins are labeled on the PCB. Connect the Arduino 5v to the VCC input pin on the Arduino, connect ground to ground. I’ve wired Strobe 0, Clock and data to D3, D4 and D5 respectively.
If the TM1638 library was installed correctly, you should have a TM1638 menu in the Arduino app under File > Examples. Upload the tm1638_one_module_example sketch to verify that you can communicate with the led module. You may need to update the data, clock and strobe pins used, depending on how you wired them together.
Software setup
In your DiRT hardware configuration, <Documents>\My Games\DiRT Rally\hardwaresettings\hardware_settings_config.xml, set the motion_platform udp enabled attribute to true and extradata to 3
Install this sketch on your Arduino. You may need to change the data, clock and strobe pin numbers, again depending on how you wired the led module up.
Download the pygauge app, which will be responsible for passing telemetry data from DiRT Rally to the Arduino.
Edit the included config.yml file, setting the host and port of DiRT Rally (likely 127.0.0.1 and 20777 if you’ve left everything default), and the COM port that your Arduino is connected to.
Launch the gauge app (either run the exe, or python path/to/gauge.py). You should see the Arduino reset.
That’s about it. Load up DiRT Rally, and you should see the LED module react once your stage starts.
Finishing up
You may want to put the LED module in a project box of some kind. This will probably entail desoldering the ribbon cable connectors on the front of the module which stick out a fair bit.
Carbon fiber everything
Install fancy racing button box buttons for the LED module.


