I built this last year, but completely forgot to post about it. As such, it’s a bit detail-light.

Reasoning
I was looking for a small keyboard that I could use to sound out musical phrases or chords, while learning other instruments.
Notably, I wanted:
- 1.5 to 2 octaves of notes
- Standard piano layout
- Small enough to fit in my desk drawer, around 10.5” wide by 9” deep
- Two or more note polyphony
- Buttons for keys (rather than a stylophone)
- Close enough to accurate tuning
There are some midi controllers that meet these requirements, but I was looking for something standalone, with it’s own speaker.
I couldn’t find any commercial keyboards that did those things, but I did eventually stumble on the (delightful) Oskitone site.
They have a number of fun noise makers, including the poly555, an analog keyboard based on twenty 555 timers, and the scout, a hackable microcontroller-based synth.
A number of these also have 3d models available for 3d printing:
https://www.thingiverse.com/oskitone/designs
I settled on the Okay2 synth, as it had the dimensions I was looking for (around 9.25” wide by 4.25” deep), two octaves of keys, and it looks cute.
Build

Instead of using Oskitone’s components, I chose to build out the internals myself. Initially, my goal for this was just to allow more notes to be played simultaneously, but the features got away from me a little as the project went on.
It currently supports the following:
- full polyphony
- eight sampled instruments, pulled from Microsoft’s sound fonts
- selectable octave
- volume control
- headphone jack (as soon as I hook it up. I may never)
Components
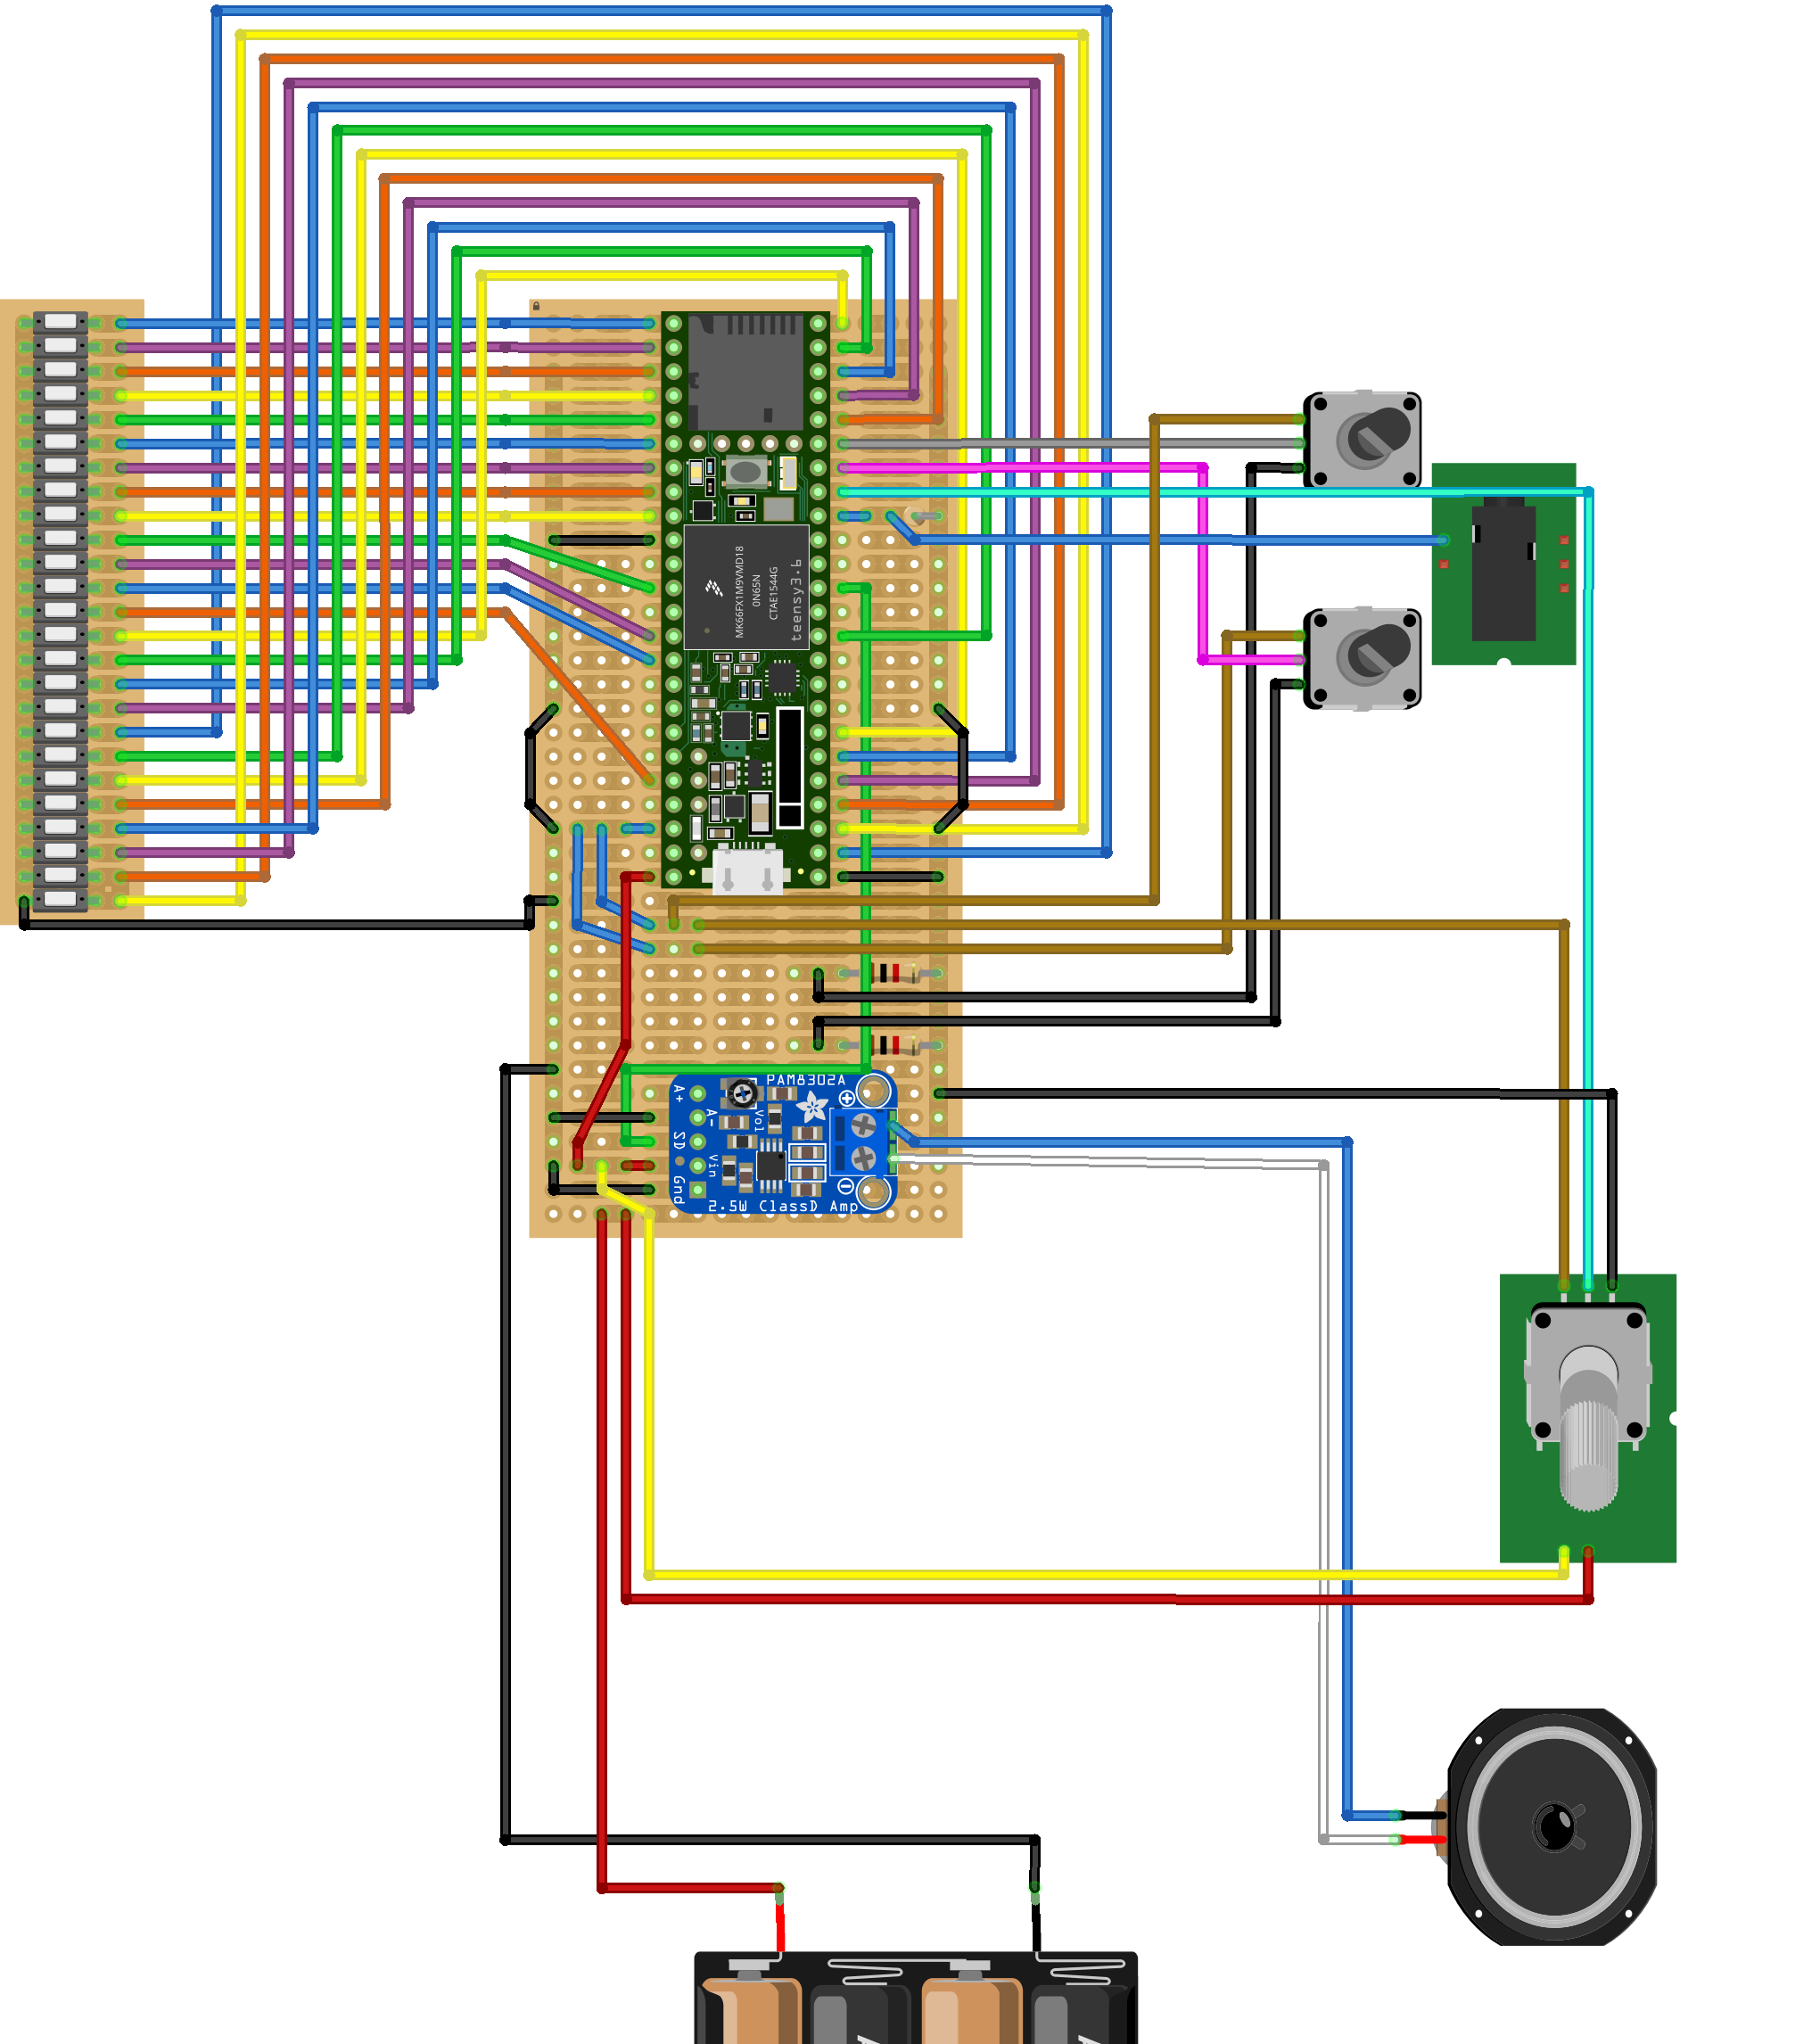
For the controller, I settled on the Teensy 4.1, a high powered ARM development board, and their audio adapter board.
I chose a 2.5w class D amplifier and a 4ohm 3w speaker from Adafruit, as well as some 8 way rotary selector switches, and a potentiometer.
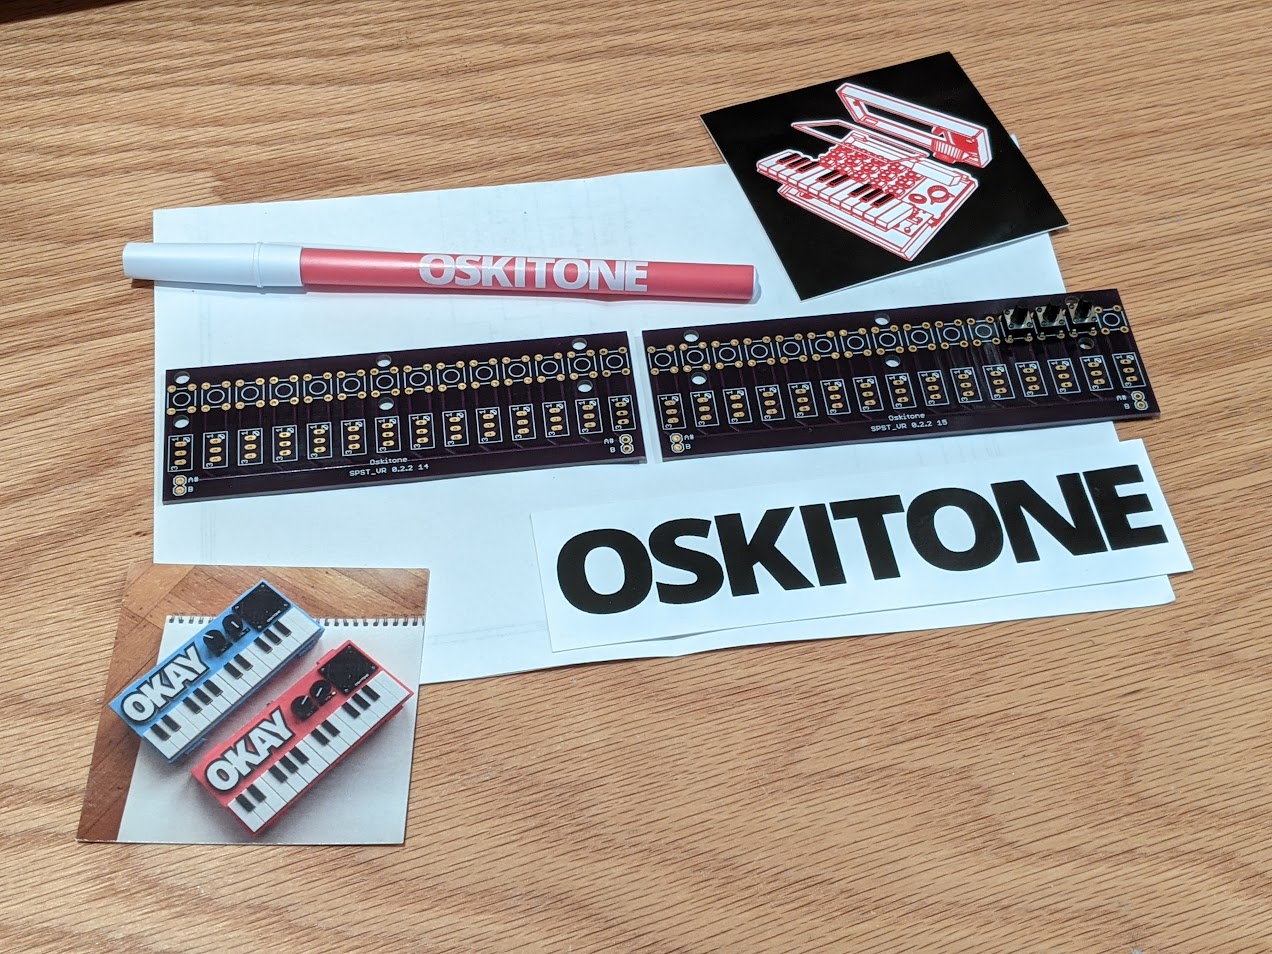
I purchased the PCBs for the keyboard itself from the designer. While it acts as a resistor ladder by default, I had enough open pins on the Teensy to allow one input per key, so I didn’t bother to wire up a matrix.

Ideally, I’d have had a couple of custom PCBs made that would have simplified the wiring and build a lot, but at the time I had not done so before.
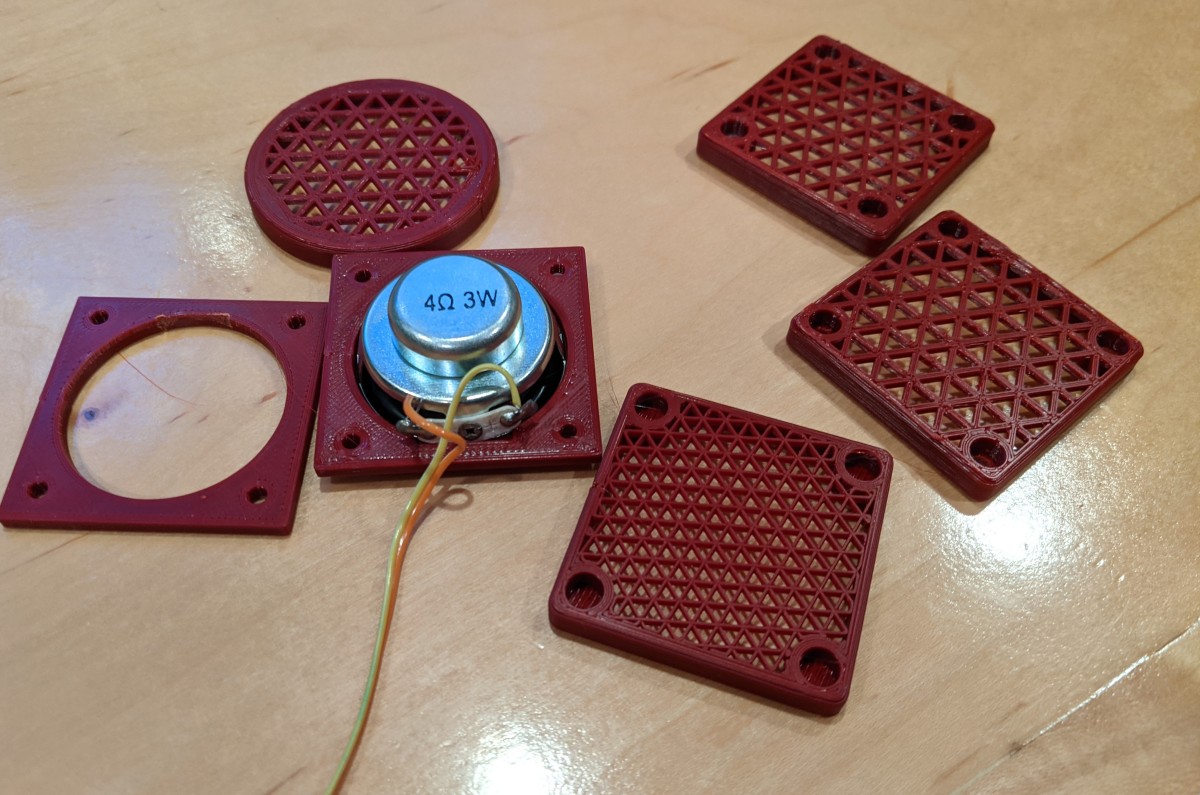
I made a handful of tiny changes to the case to accommodate my parts, mostly adding board standoffs in the right location, moving and adding potentiometer/switch holes in the lid, and resizing the hole for the speaker to match the one I used.

I soldered everything together on a protoboard.
For power, I’m using 4 rechargeable AAA batteries.
Software
The project code is available here: https://github.com/Billiam/okay-teensy
All together now
Initial breadboard testing


Done!