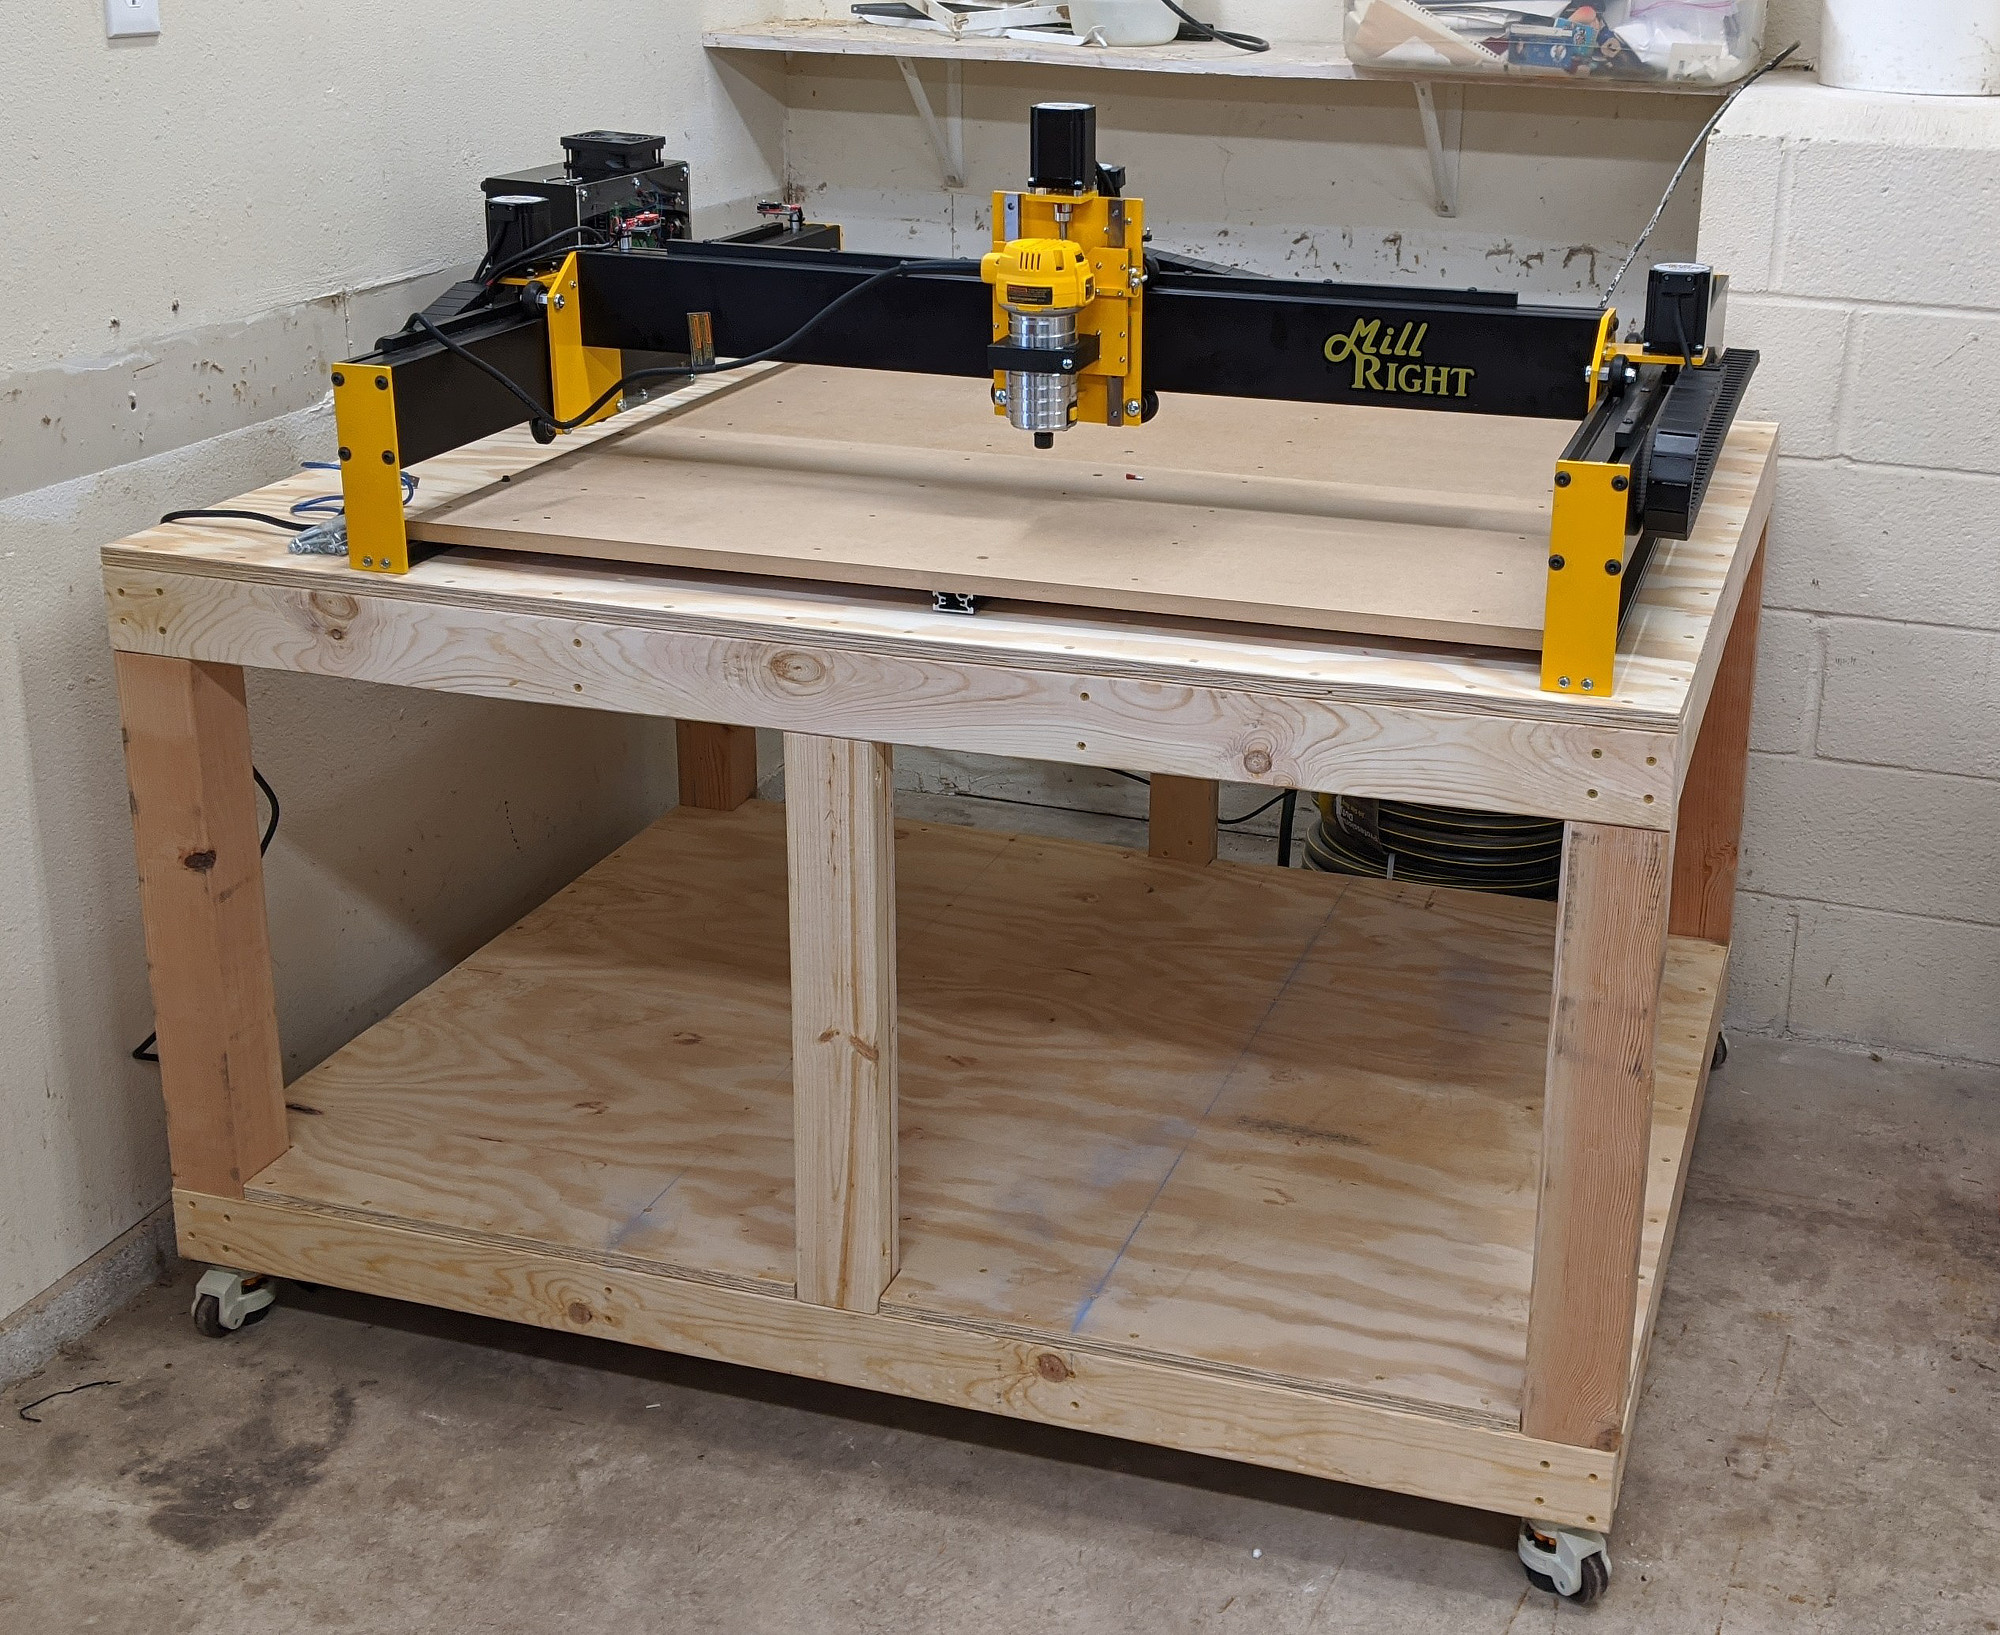
I preordered the Millright Mega V CNC router in October, and it feels like I should write something about it.
I have a small workspace in the corner of my garage, so naturally I ripped out most of it to make room for the 35” machine instead of something smaller and more practical for my space.
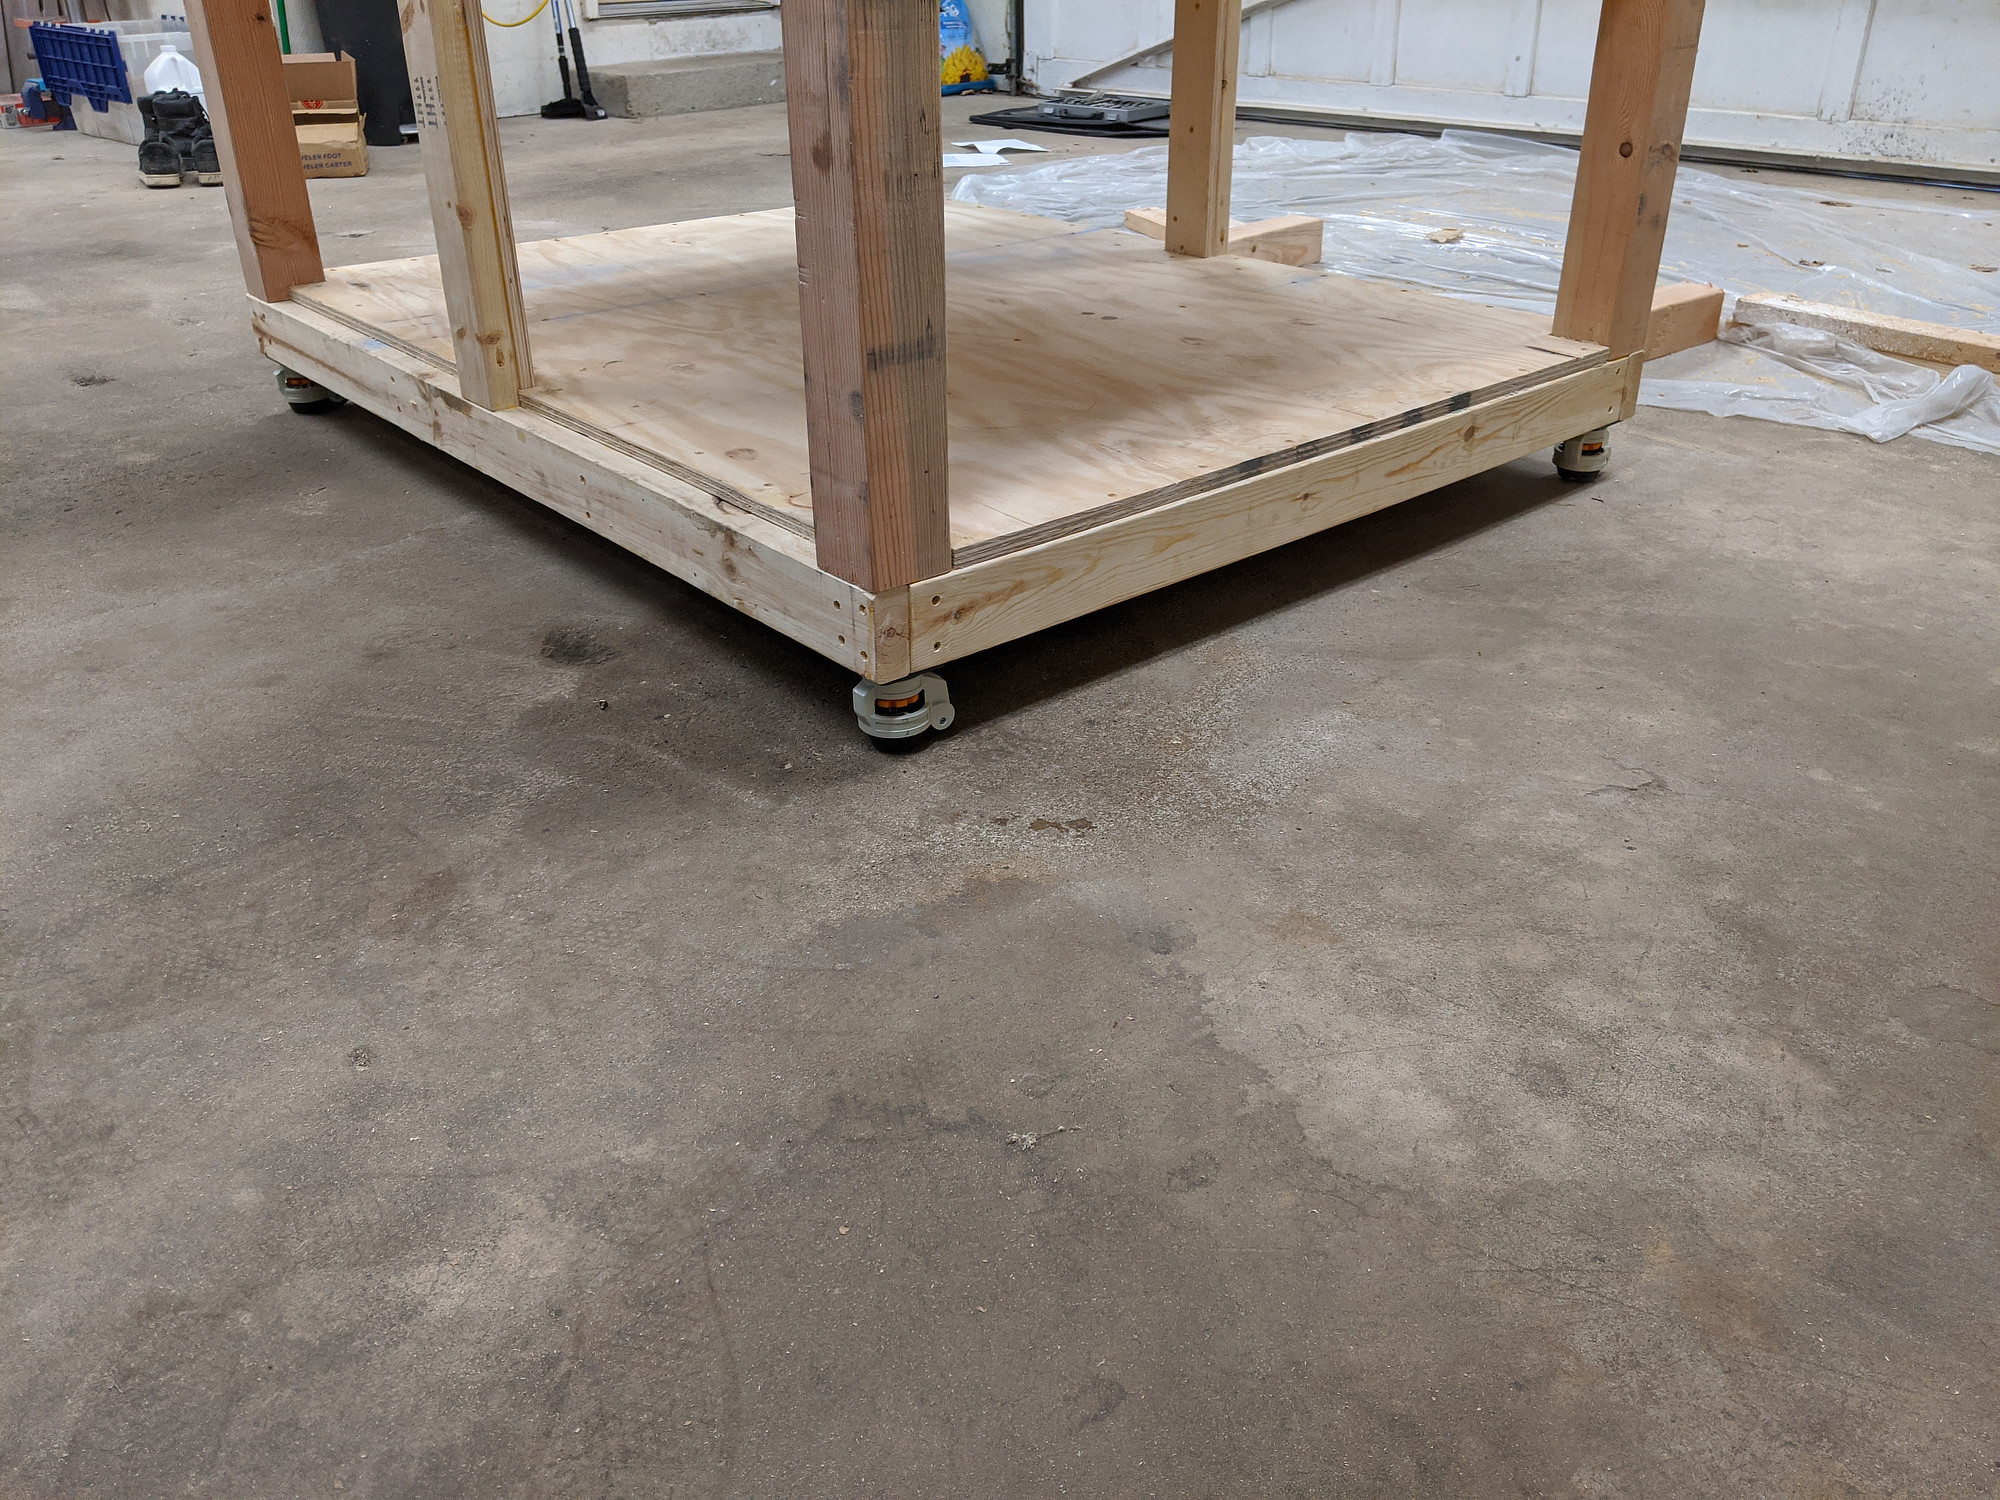
When I bought it, it wasn’t scheduled to ship for a few months While waiting, I took a stab at a basic table design to keep the machine at a comfortable working height, and to allow some storage for tools and dust collection.
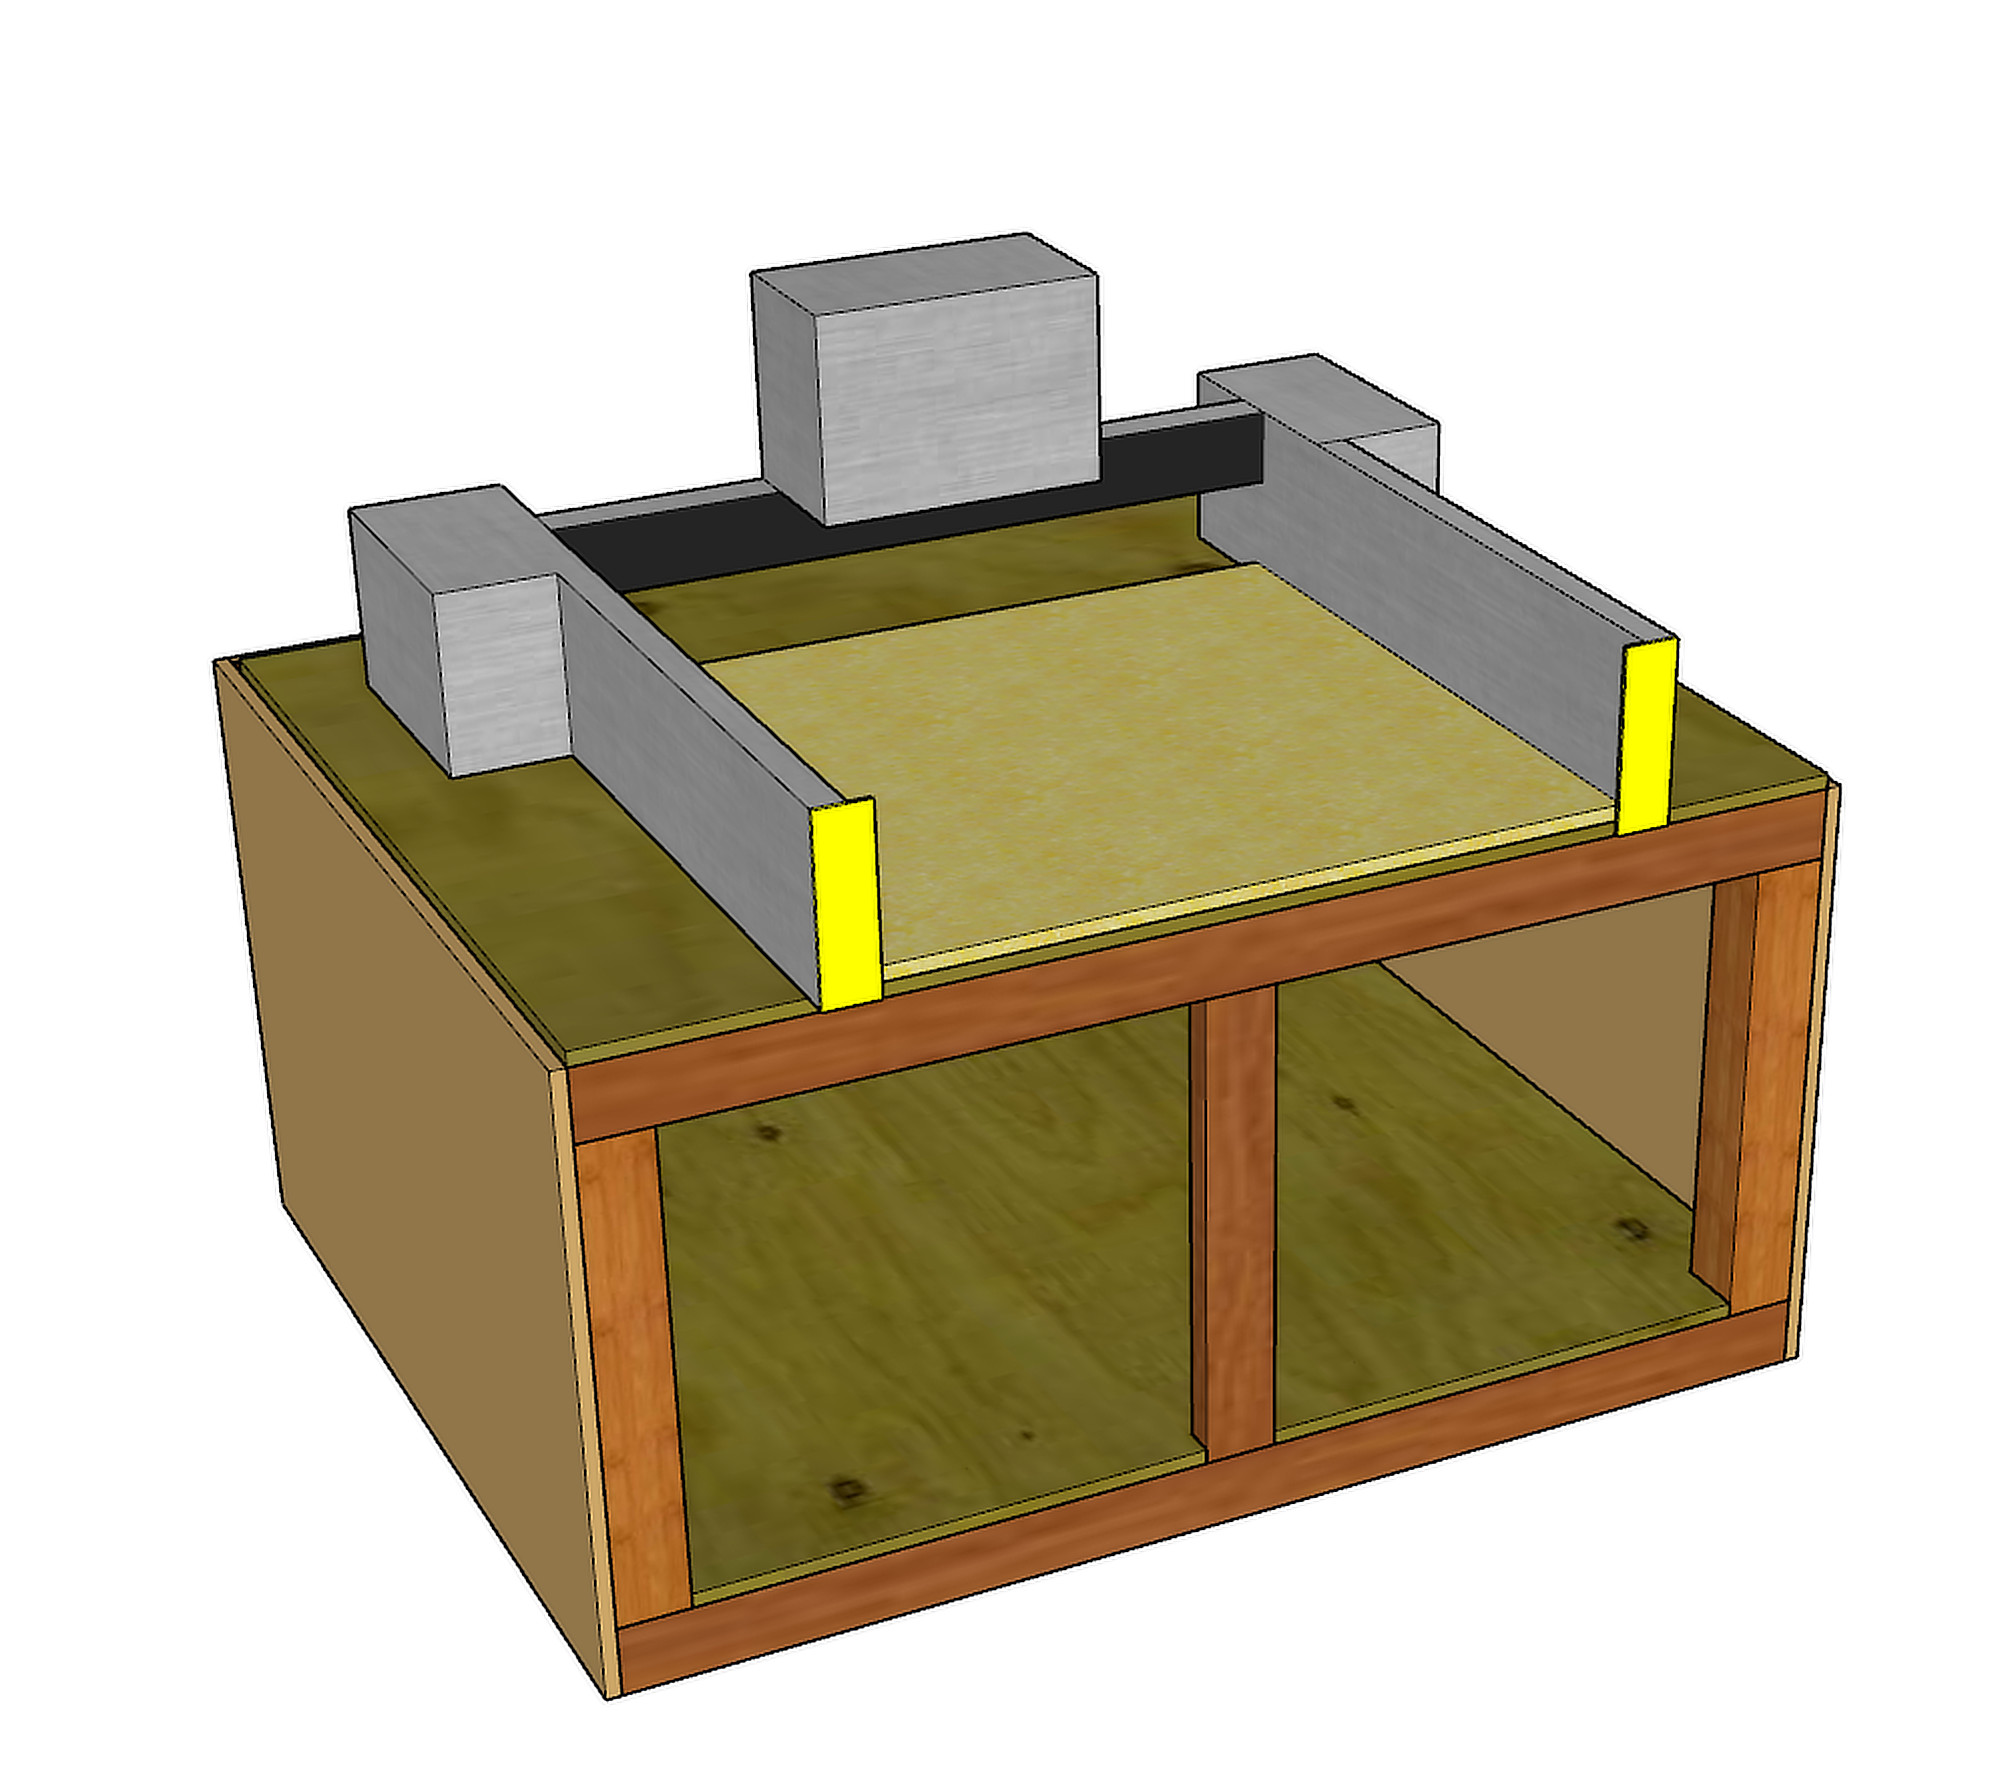
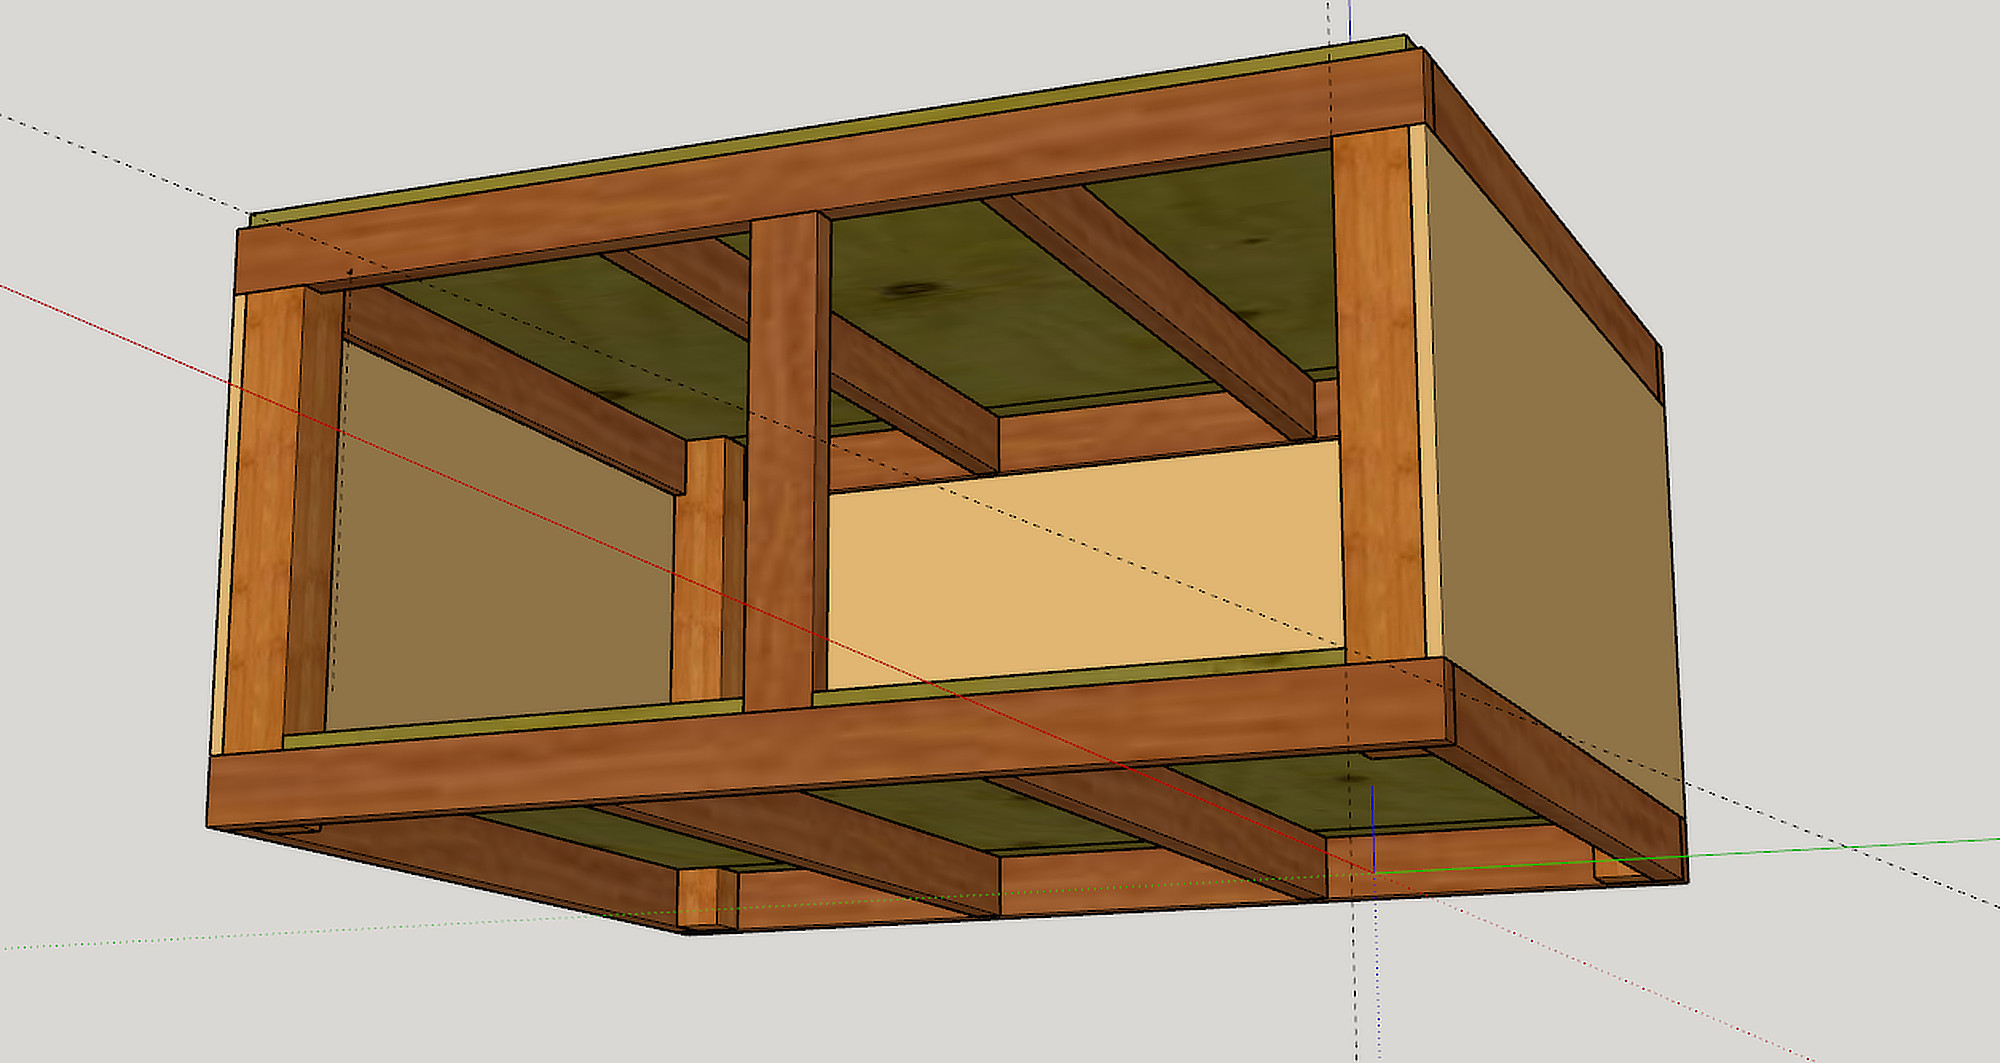
This is a very simple 2x4 and 4x4 box (in line with my woodworking ability), with a plywood top and MDF sides. Eventually, the front will have cabinet doors, and the top will be enclosed with a hinged lid to keep the sound level down.
I went back and forth about putting the whole thing on casters, whether they should be raisable so that the box is sitting on solid wood when stationary, how much the box and table would weigh, and most importantly how well they could be used with the table tucked into a corner when only of the feet/casters might be accessible.
Eventually, I settled on these: https://smile.amazon.com/gp/product/B07V1NTLDP
They work well, but are difficult raise and lower once weighed down. I’d like to replace them but haven’t yet found an alternative.
Parts arrive
Got all my parts. I think I was missing a couple of screws, and there was a little shipping damage to the MDF spoilboard

I put together what I could before building a cabinet for the CNC but it didn’t take long.
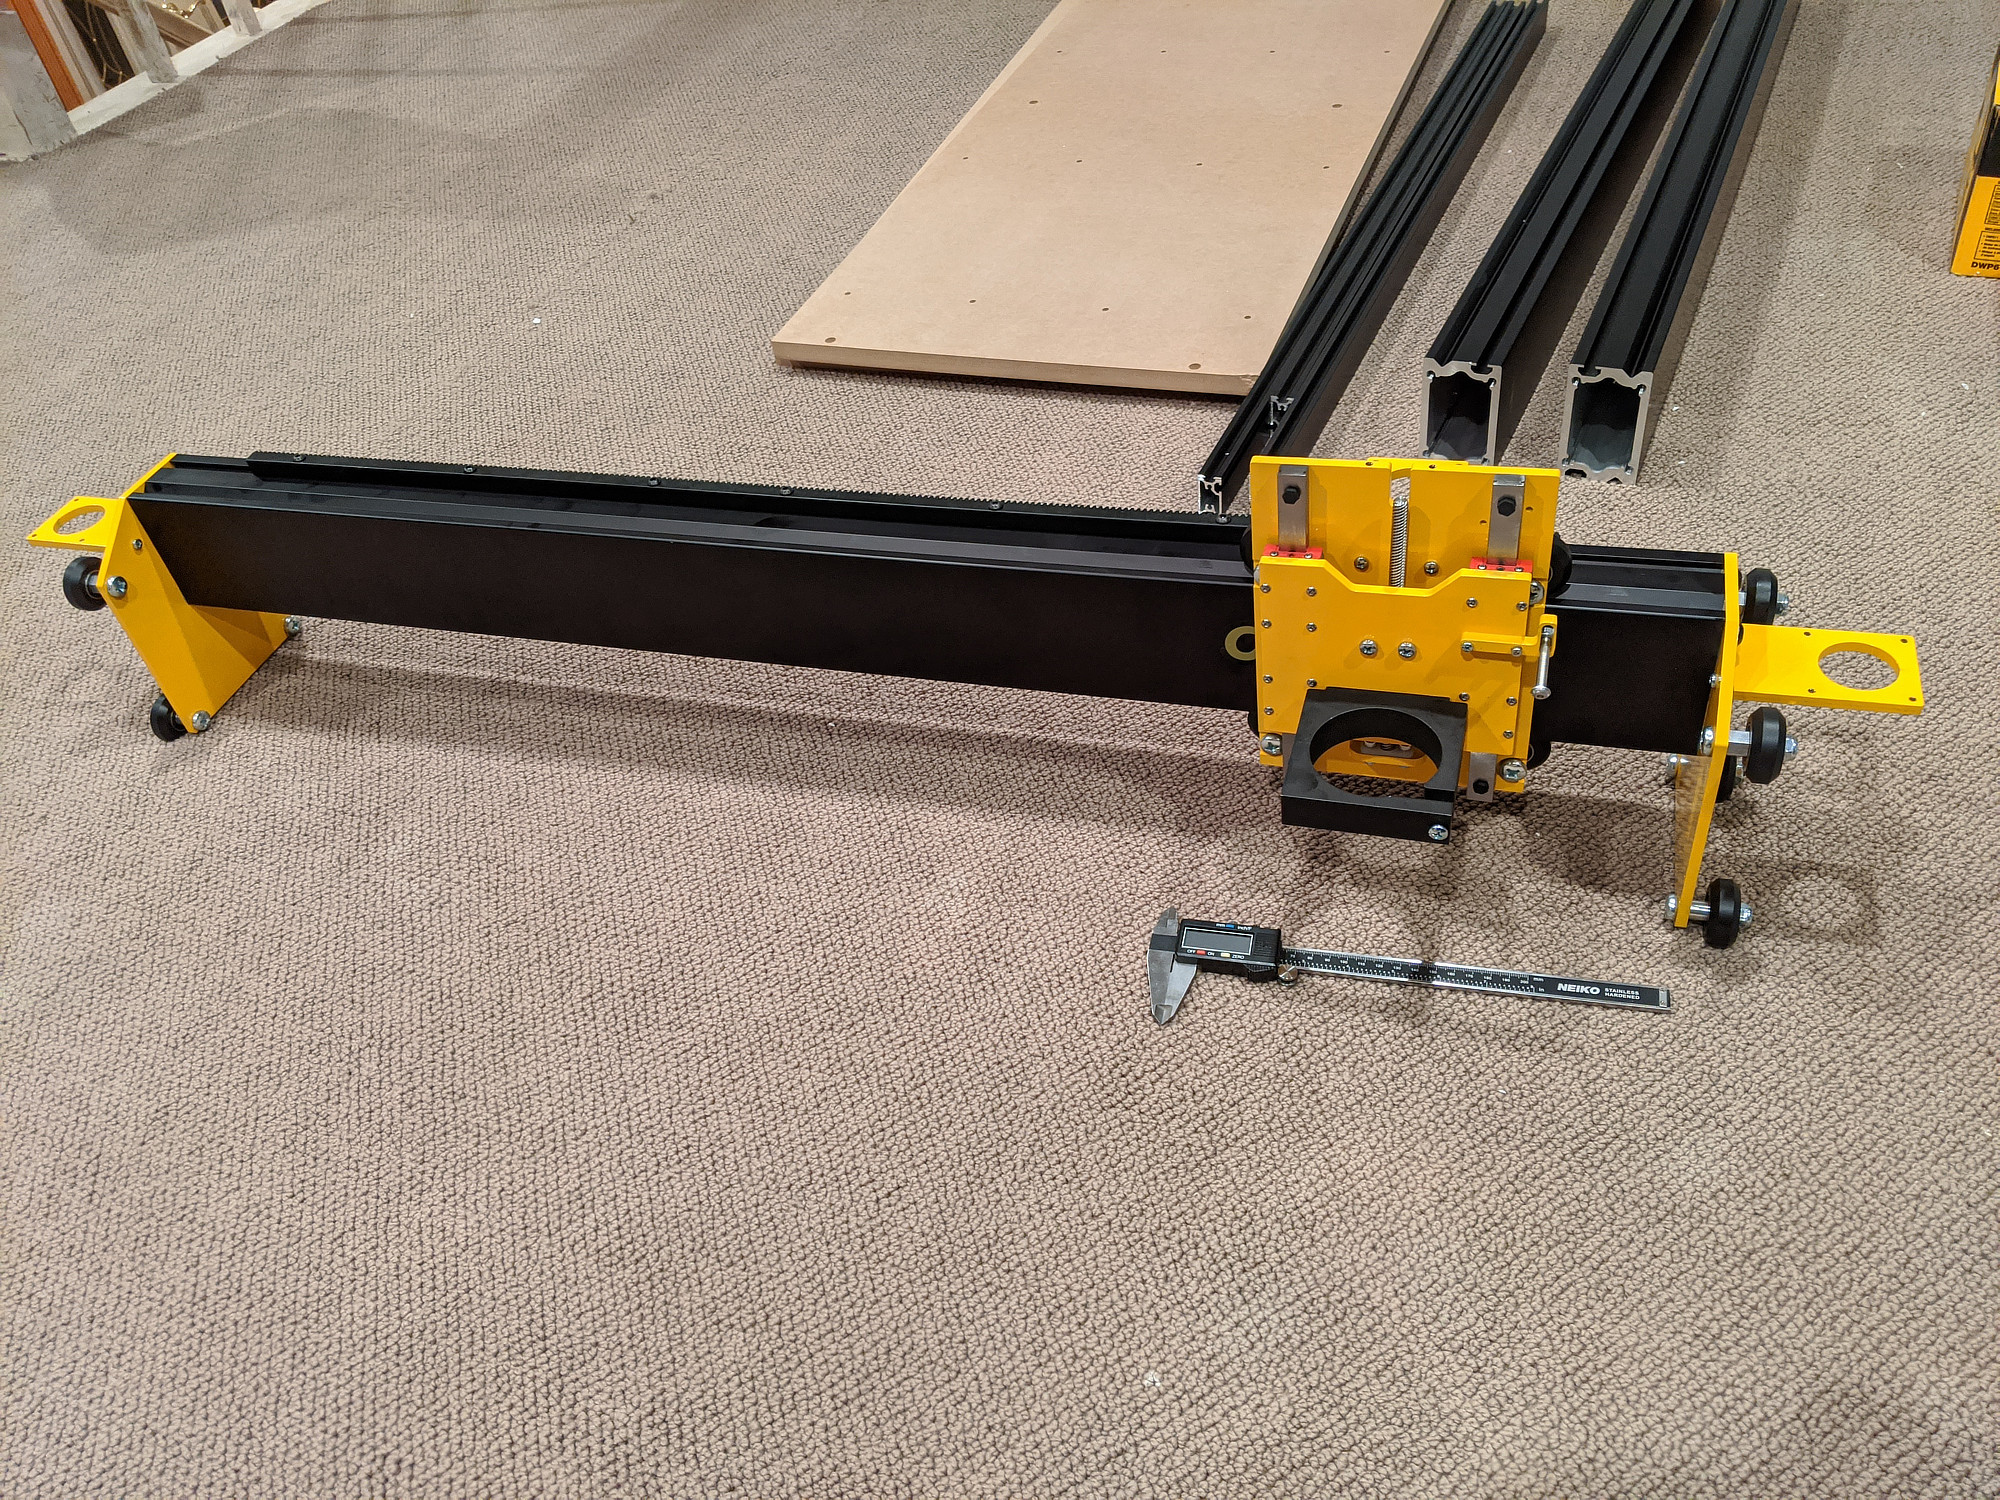
Table assembly
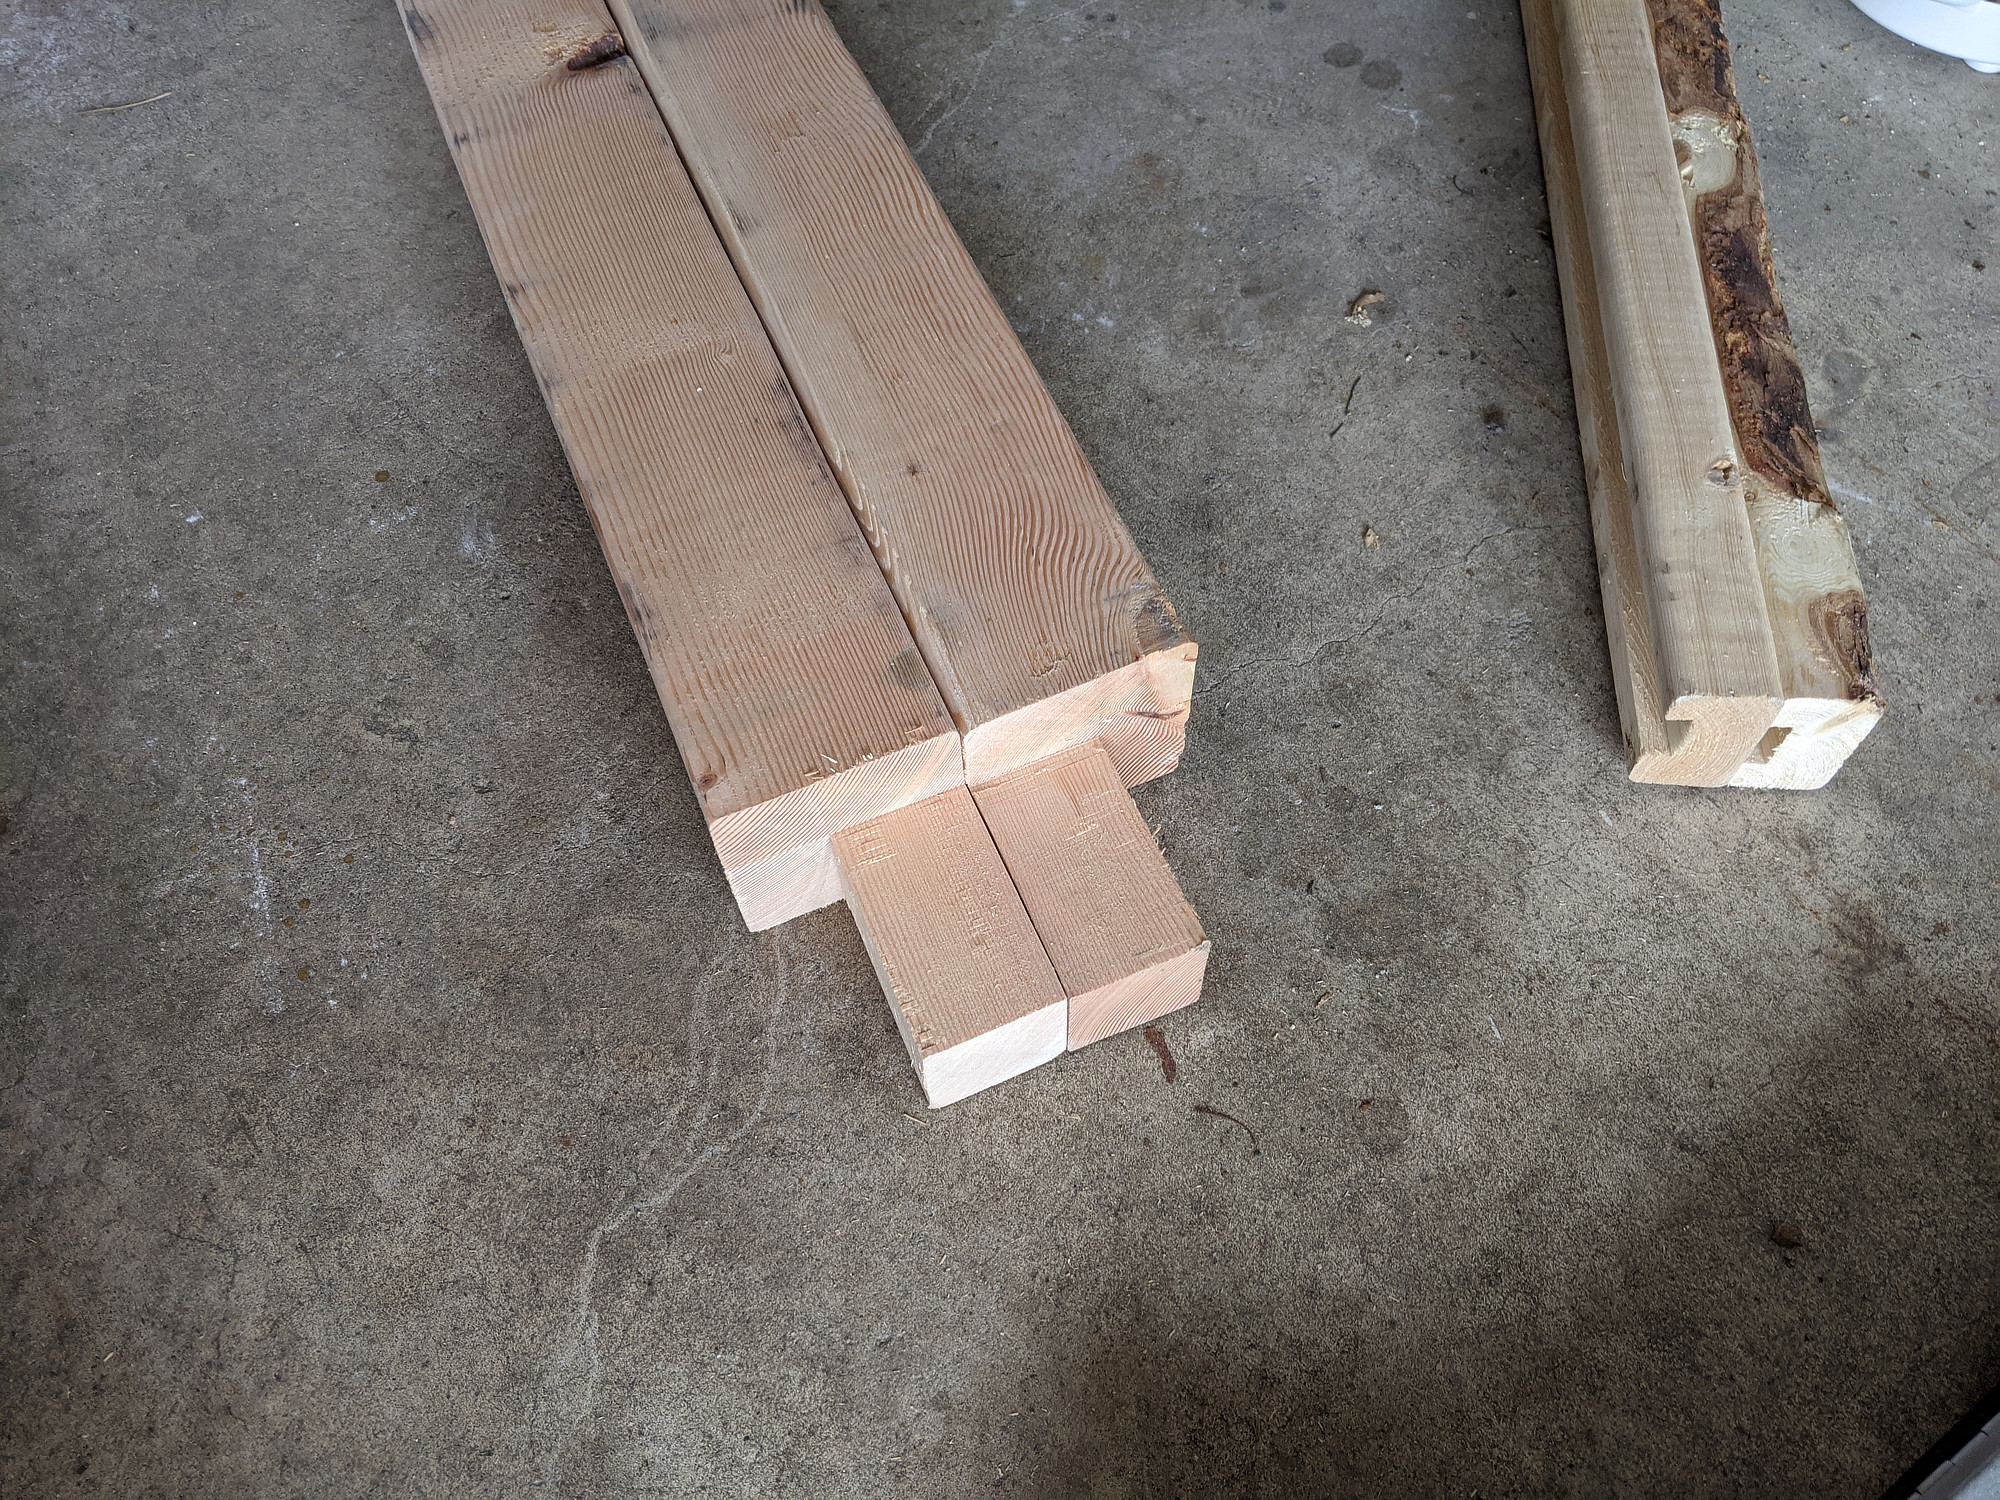
I started building the table right around the time of my state’s stay-at-home order. I let my local big box store select and deliver some of the worst warped, cupped, and twisted, wet wood, I’ve seen. It was still cheaper than my local lumberyards (by a lot) but quality isn’t great unless you can spend time picking through their stacks.

Mega V assembly
Assembly was easier than I expected, largely owing to the prebuilt control box. I think the longest part was just running cables through the cable chains.
There are some issues getting the Mega V set up that I (and other people) have run into, that I wish I’d known about when I started.
Instructions
At the time of building (and writing), the assembly instructions are limited to two assembly youtube videos. They’re not bad, but some sections are not clear, or slightly out of order (esp related to the endstop switches) and in general it’s a pain in the butt to watch video, pause, assemble, rewind and repeat, when written instructions with diagrams would have been easier in most cases.
Bearing insertion
The instructions call for hammering these into the v-wheels. I found it was much easier to use this 3d-printed bearing press. I printed this ages ago, and I use it for all kinds of things now. This may be be the first time I’ve used it to press bearings into something though.
Wiring
There are a couple of issues I ran into and have seen other people mention regarding the wiring, particularly for the endstop switches. The crimped connectors are low quality and badly crimped, and the wires themselves are going to be too short to reach the control box when routed through the drag chains as instructed (at least on the 35” model).
The solution to both of these is to rewire them. I ended up running new wire for one and resoldering the aviation connector, and then just spliced an extension onto another.
Rack and pinion meshing
This isn’t really an issue with the machine, per se, but there doesn’t seem to be a good way to determine whether the rack and pinion meshing on the X and Y axes is correct, or correct enough. It’s easy with hand pressure to warp the rack slightly where it’s fastened to the aluminum extrusion, and the gantry can lock up or miss steps.
Router mount squaring
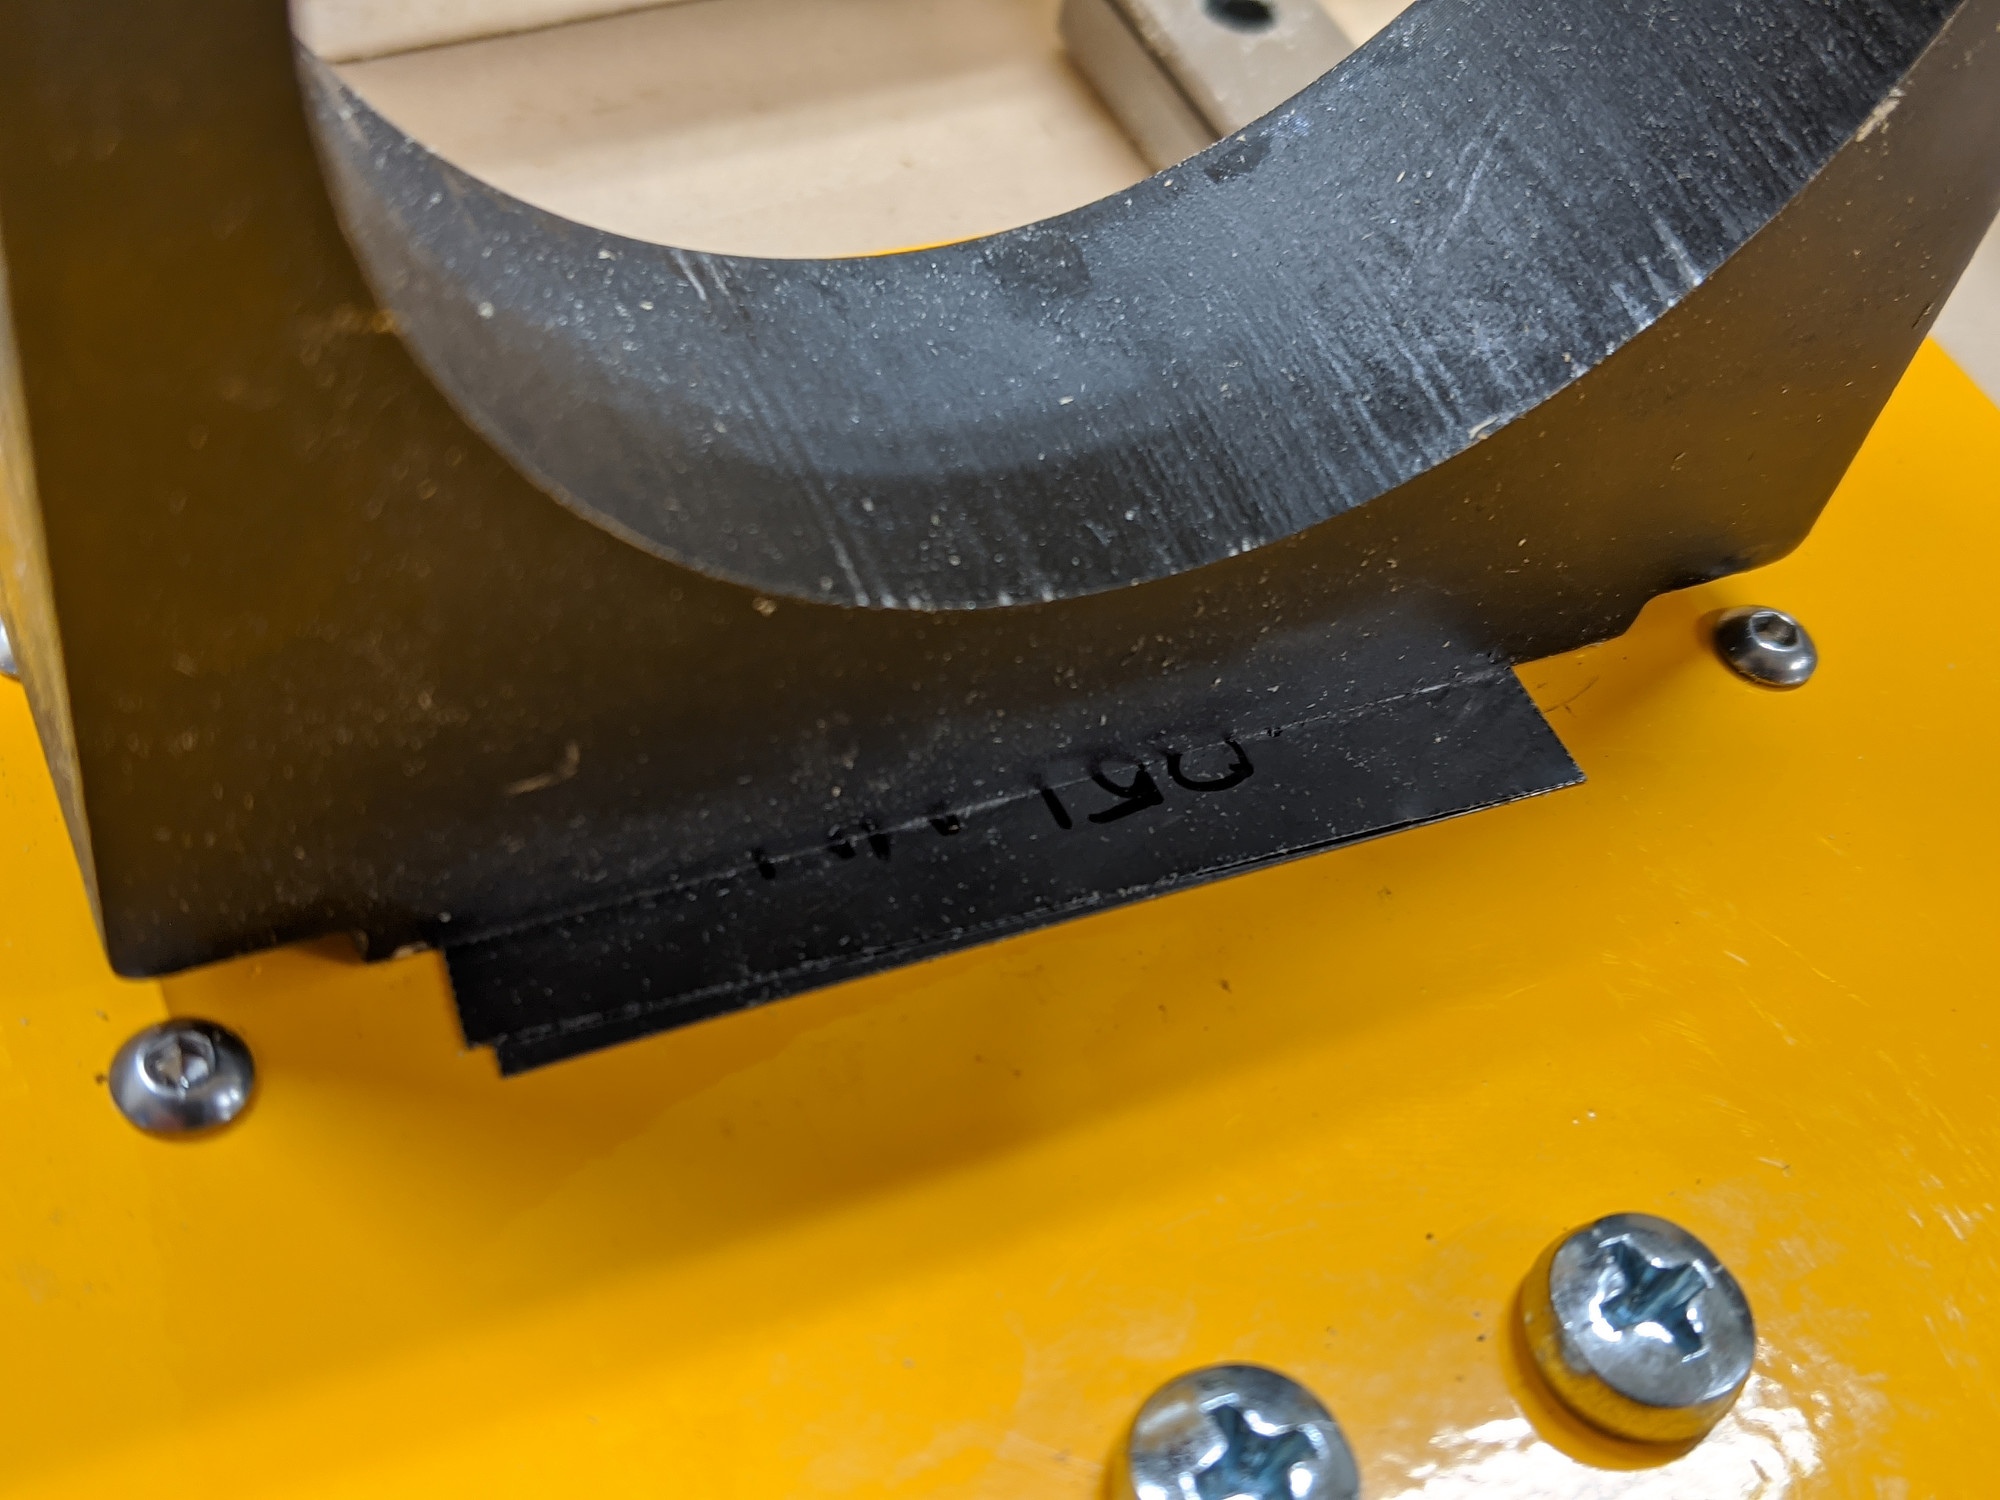
I’ve heard that the aluminum router mount is waterjet cut, instead of machined, but can’t speak to that with any confidence. What I can say is that it was somewhere in the neighborhood of 89° when I measured, causing the router to nod further forward than I could adjust anywhere else to compensate. I ended up taking apart my Z axis and shimming the mount using shim stock.
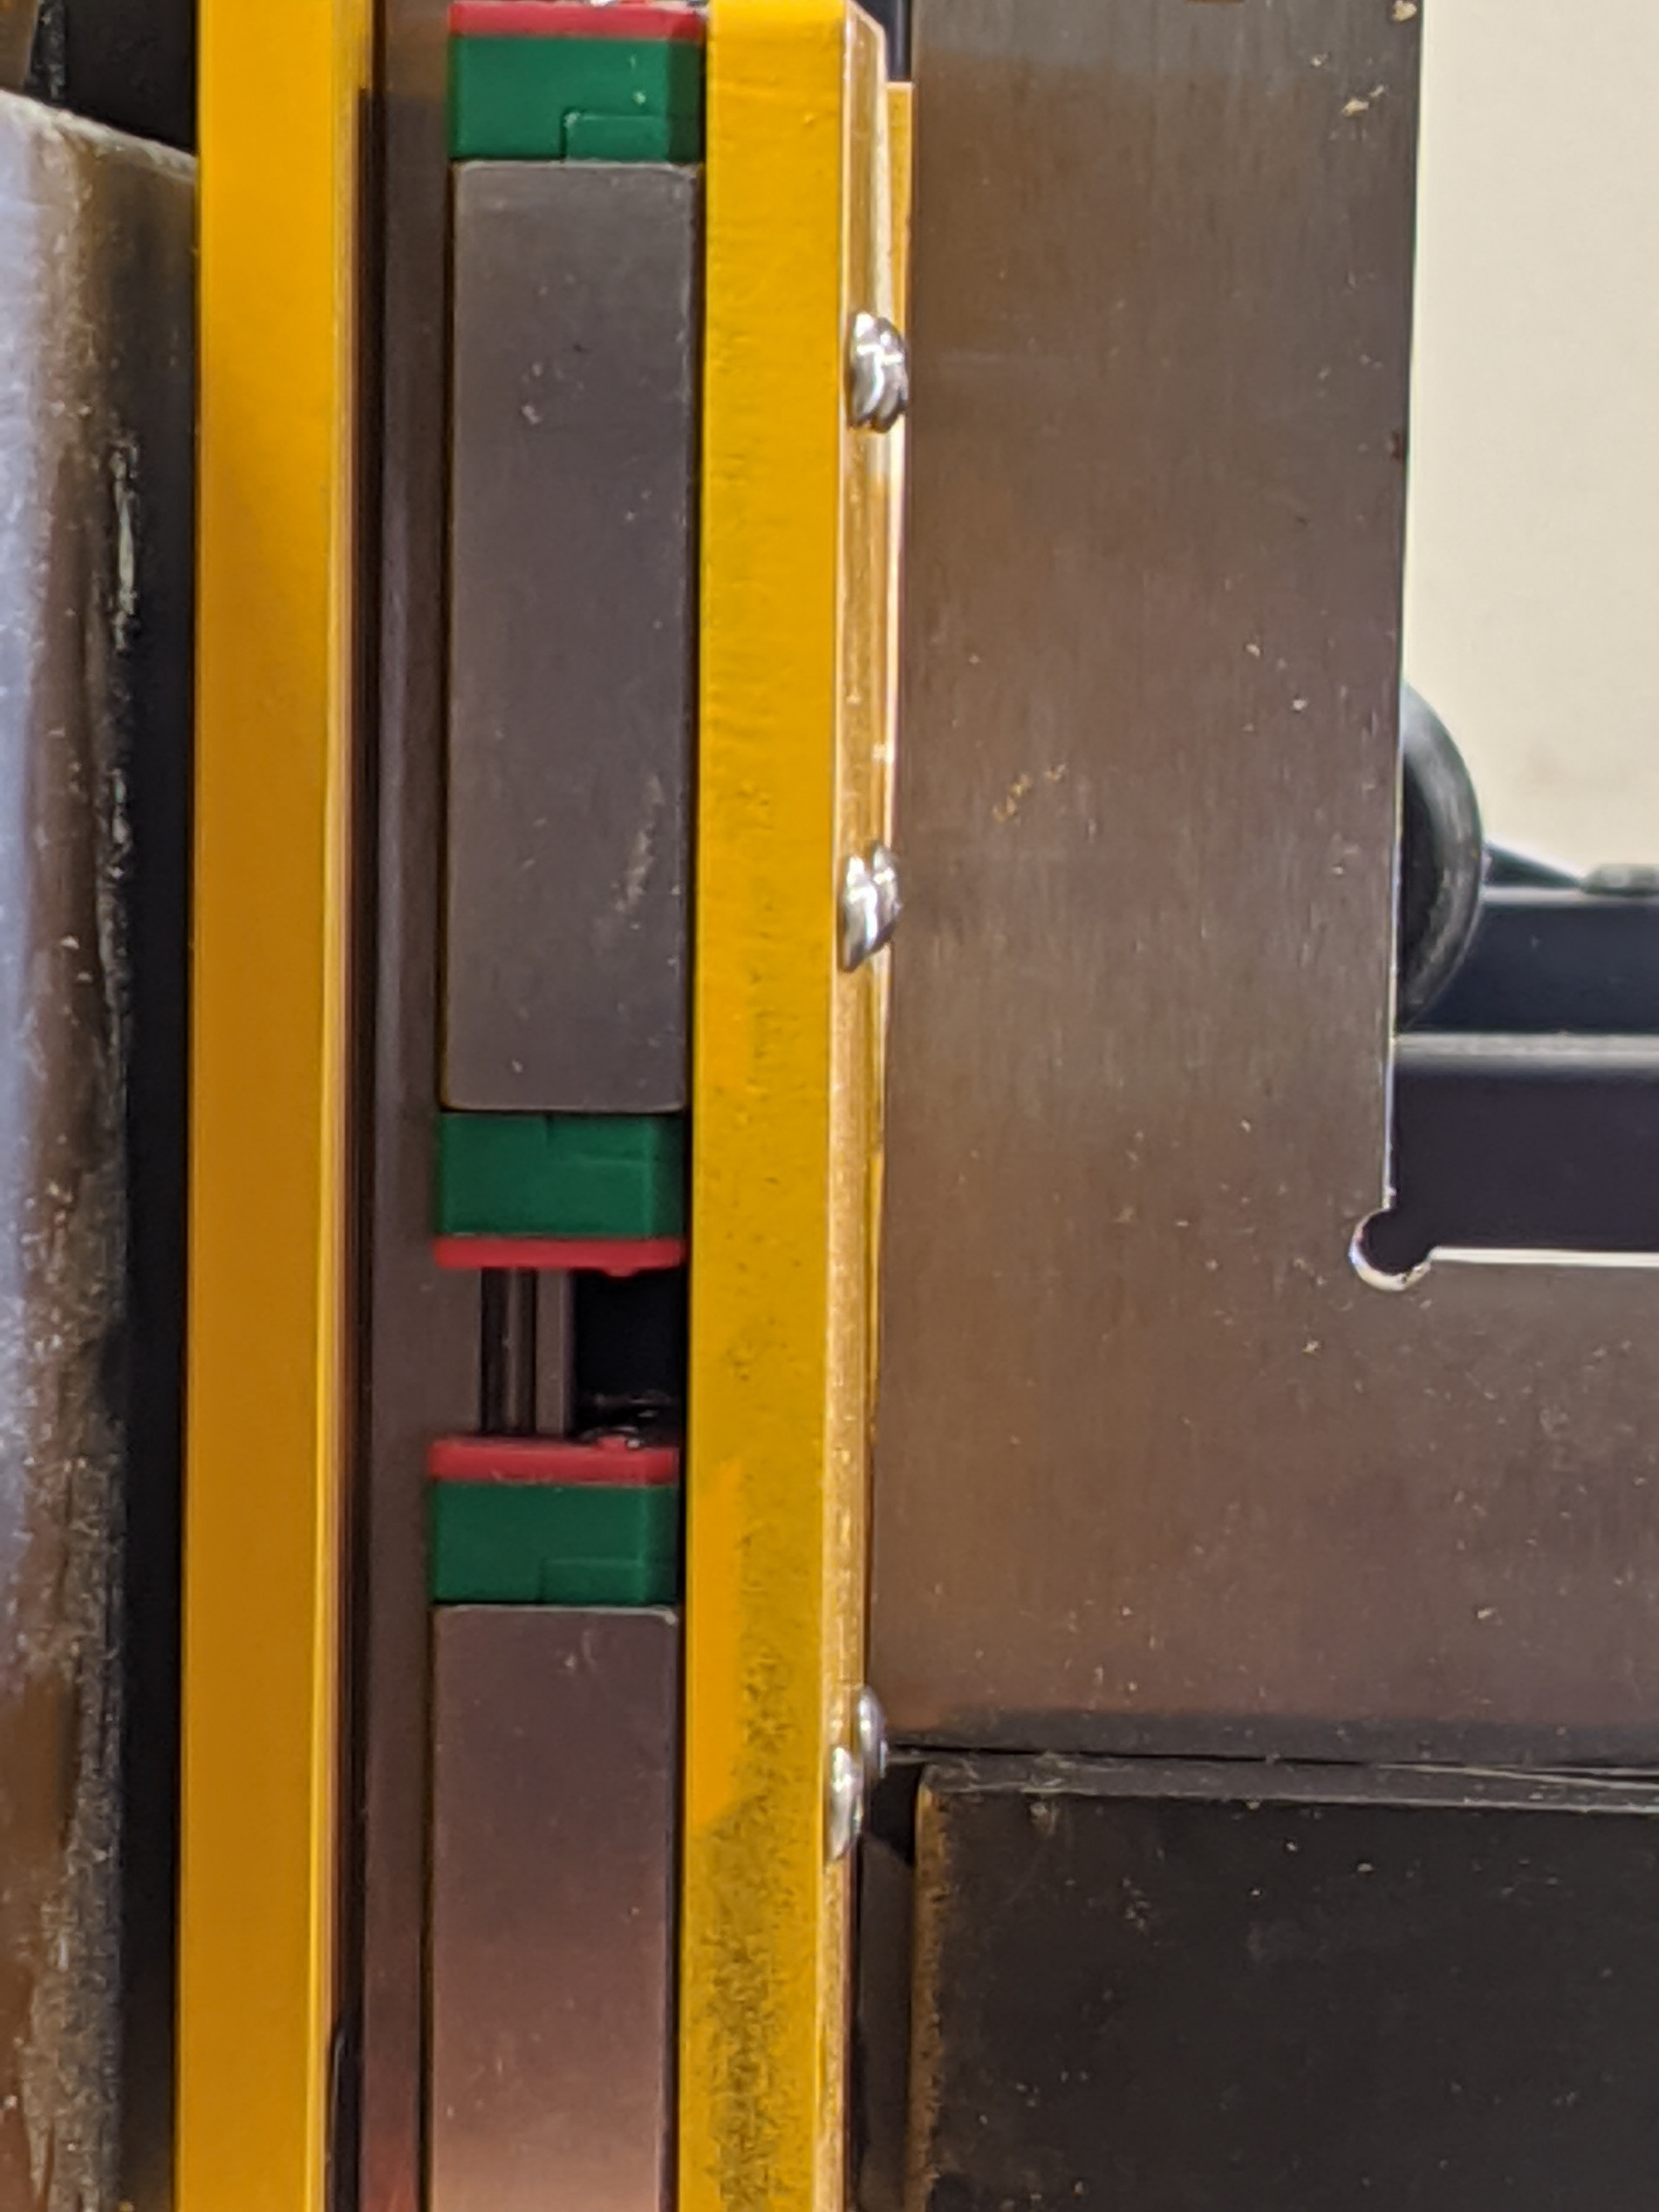
You can save time by getting this close to square to begin with before fully assembling the Z axis, and/or reshaping the mount where it bolts to the Z plate if you have the tooling.
Done
The bulk of the assembly was pretty easy, just going slowly and carefully.

